Today I’m going to show you how I turned this cute faux leather purse into this adorable rainbow purse!
EQUIPMENT
MATERIALS USED FOR BAG
-black
-silver confetti
Step 1: Sketch the outline
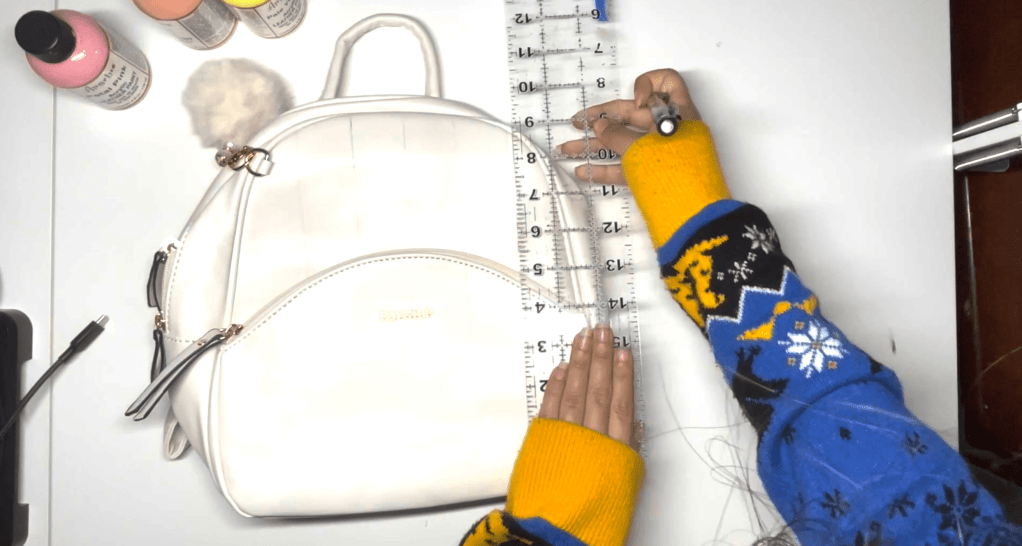
Using a pencil and ruler, measure the width of the purse base and separate it into six lines. Sketch the cloud shape and connect the lines to the cloud. Don’t worry about the pencil marks, the paint will cover them up later.
Step 2: Paint your bag
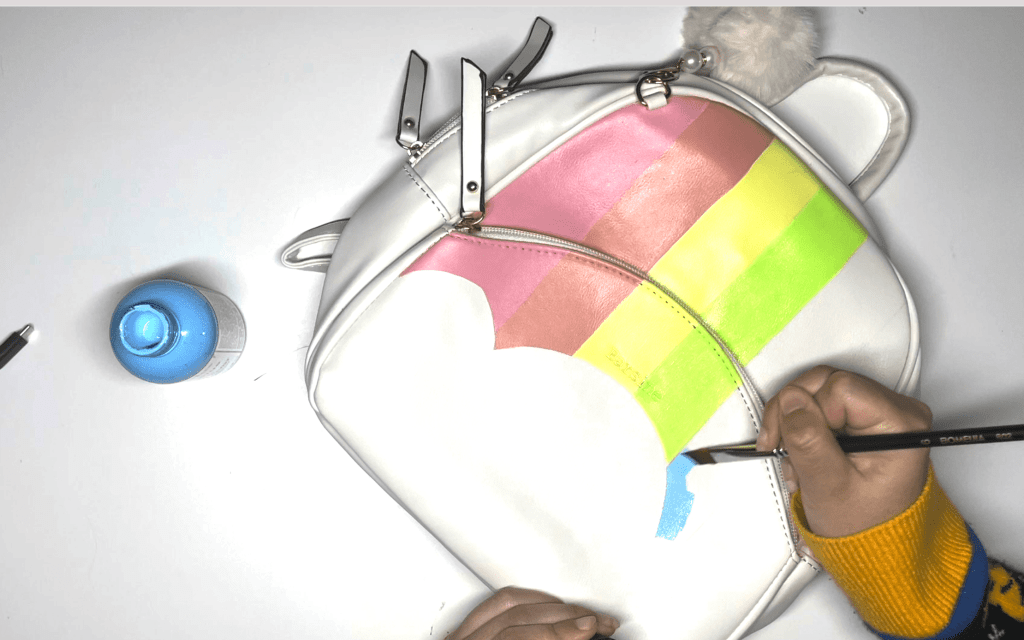
Using an angled paint brush, paint your stripes in rainbow order, one thin layer at a time, allowing each coat to thoroughly dry. This will ensure even coverage.
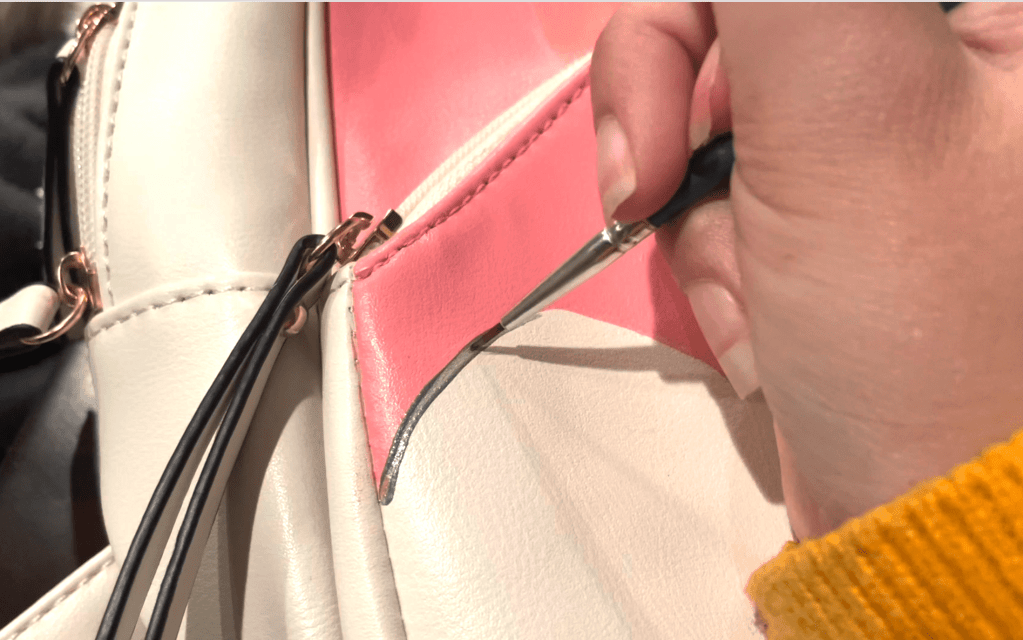
Using a fine point paint brush, outline the cloud with the “pewter” metallic gray paint for a more defined shape.
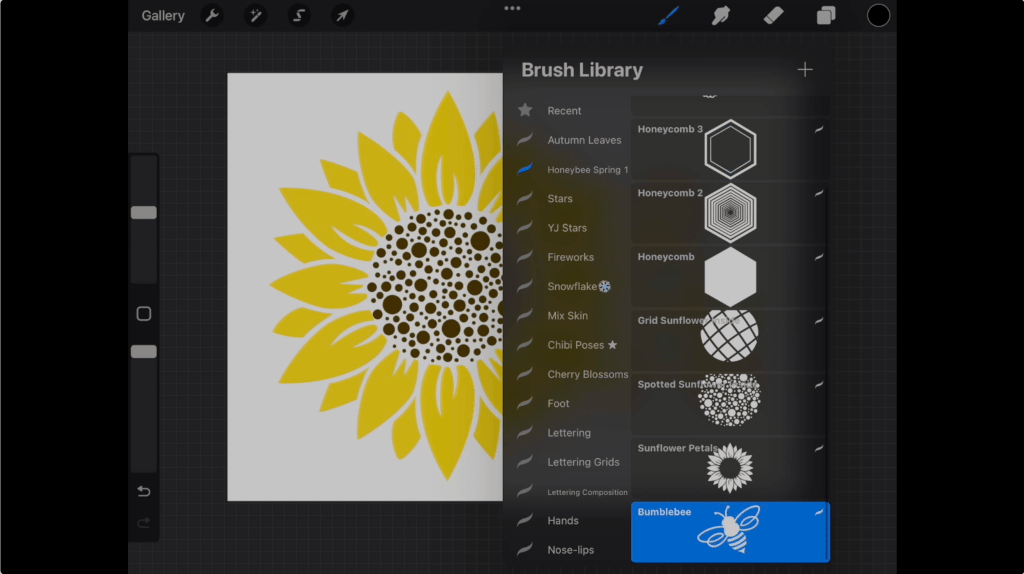
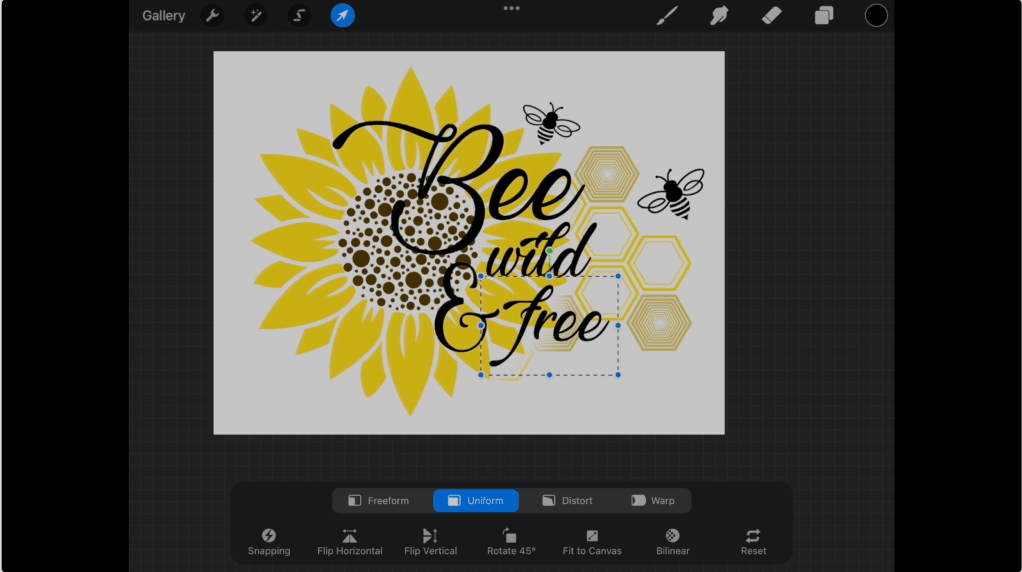
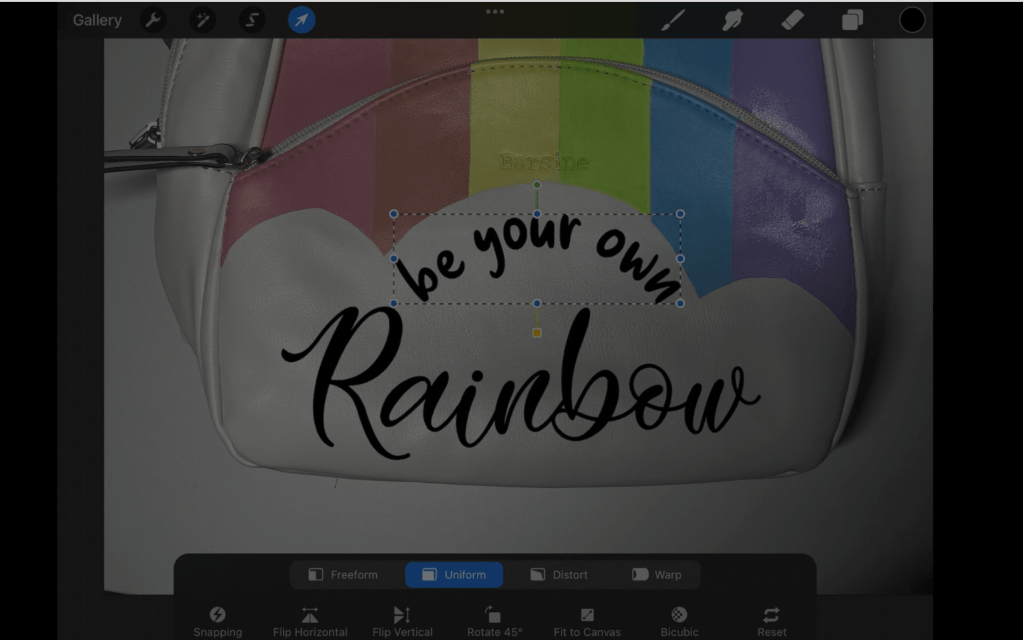
Step 3: Prepare your text file
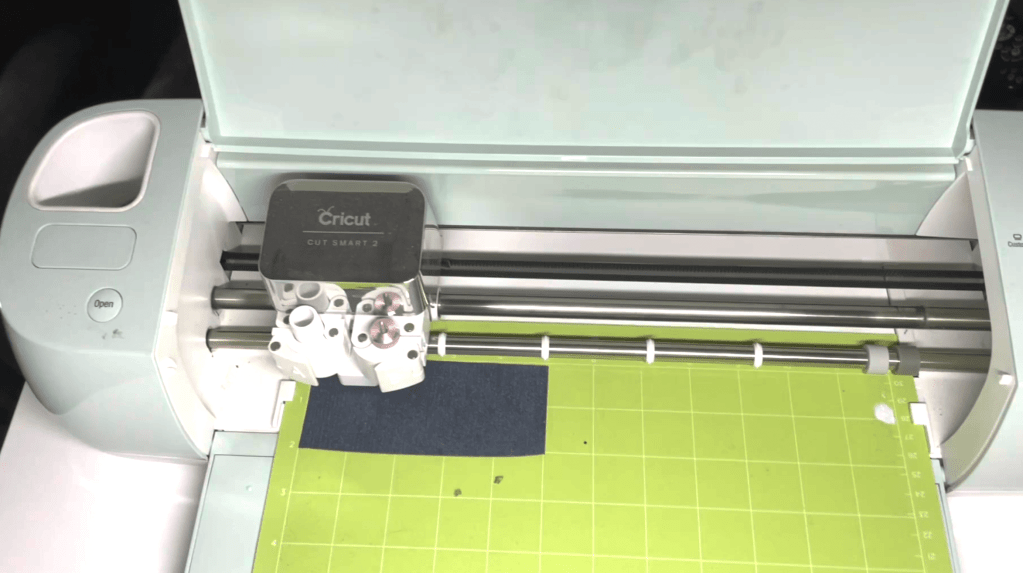
Step 4: Cut the text on a cricut machine
Upload the SVG file. Using the photo reference, estimate how large your file should be. Cut your glitter HTV to the correct size and place it on your cricut mat.
Remember to set the design to mirror. On the custom setting on the cricut dial, set the material to “Glitter HTV” then set the pressure to “MORE”. This will ensure the material cuts through.
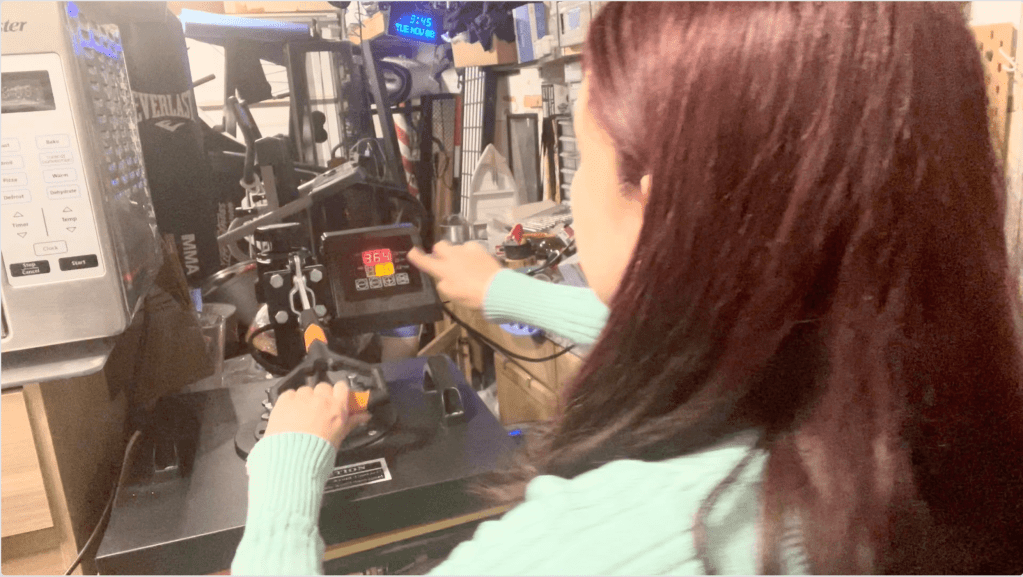
Step 5: Prepare and apply the HTV
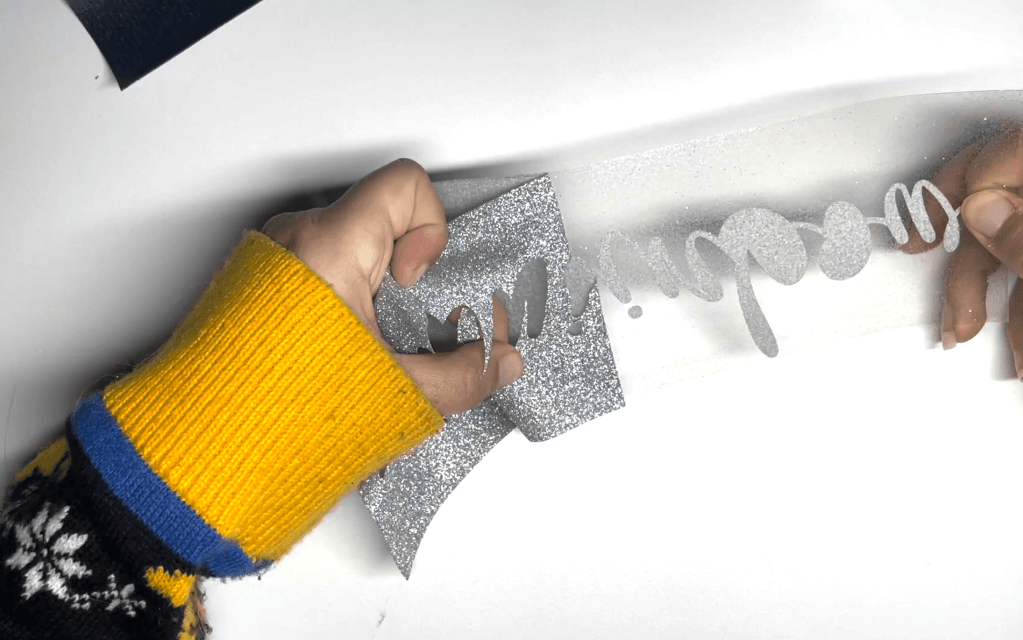
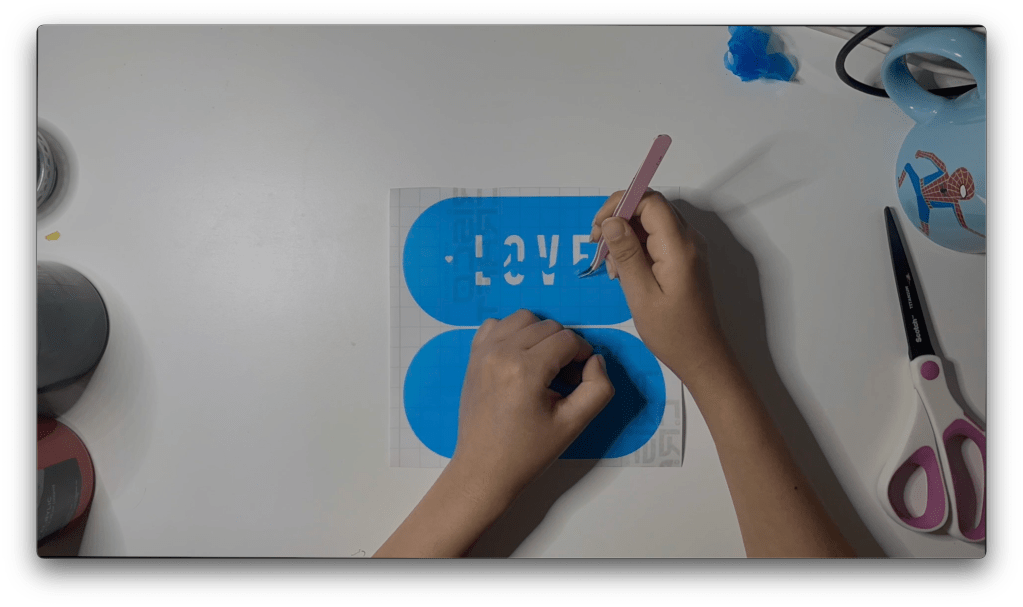
Using a pair of pointed tweezers, weed out the design.

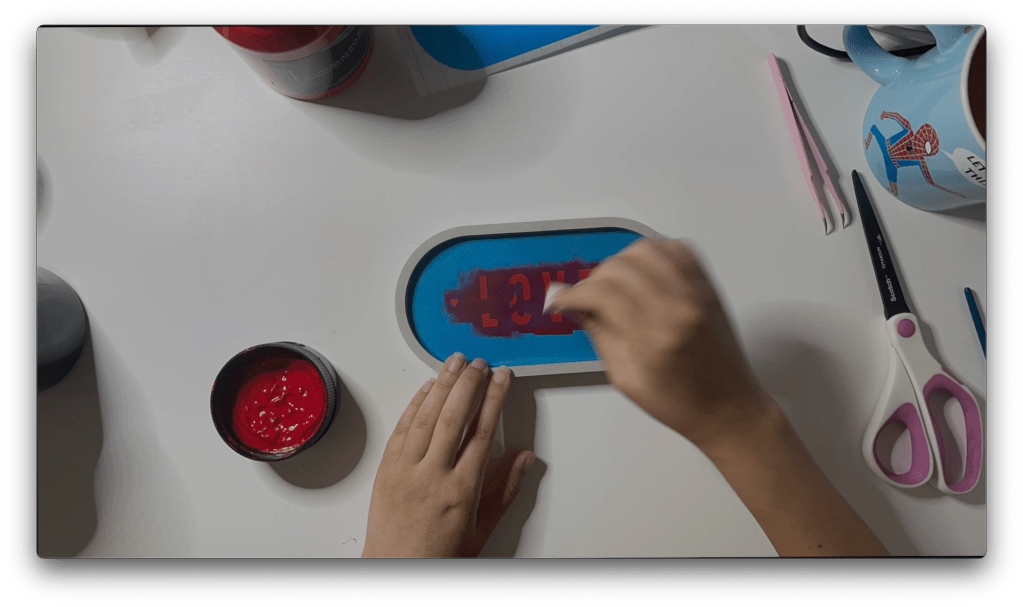
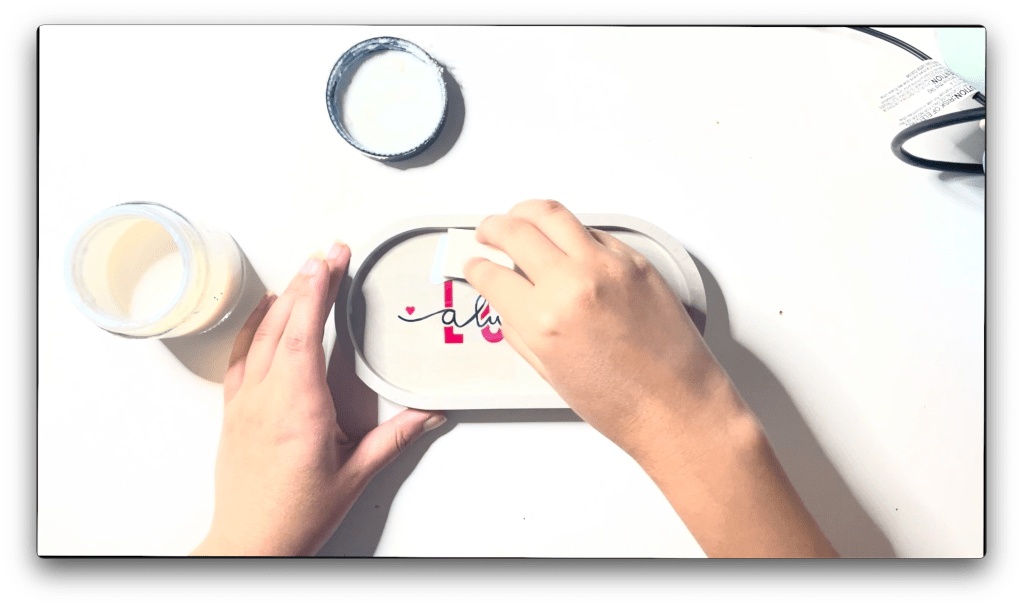
Preheat your iron to the lowest setting. Since the quote is on the pouch portion of the purse, I placed my hardcase wallet inside in order to give me a hard surface.
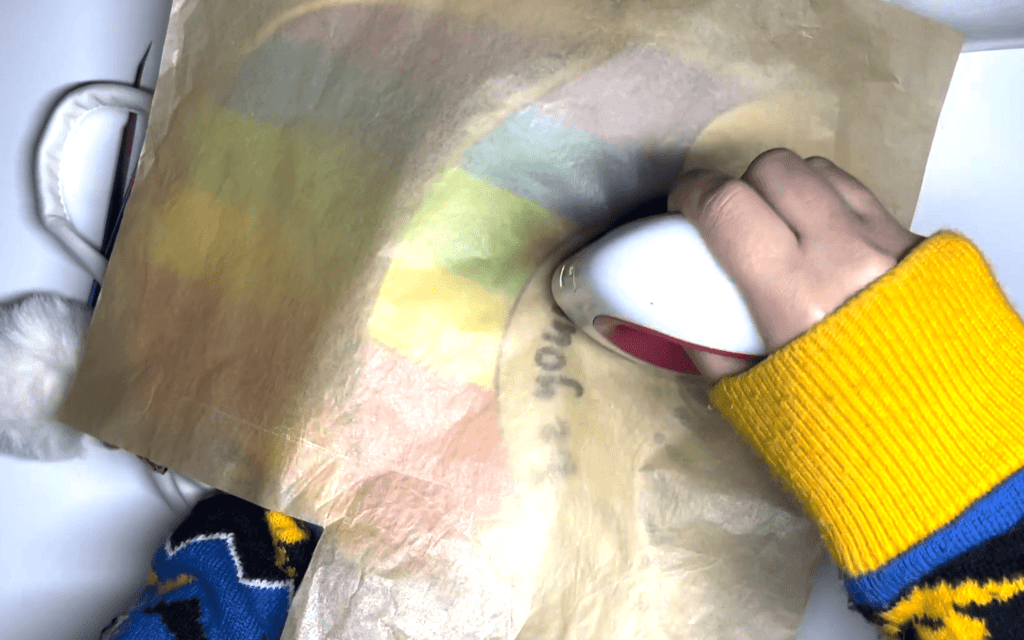
Line up the design, then place a piece of parchment paper above the design for extra protection.
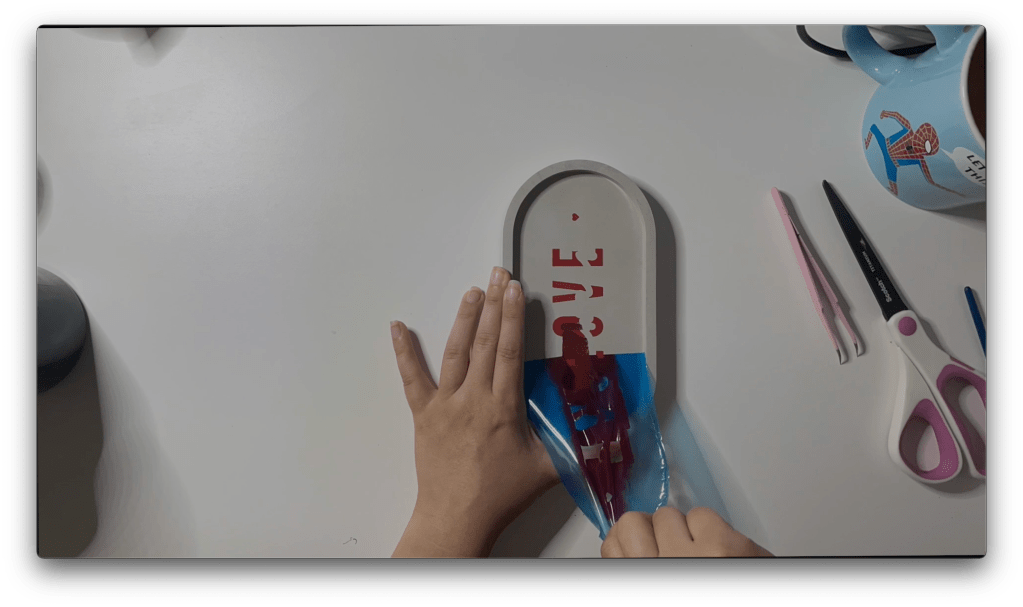
Working in ten second intervals, iron on the HTV onto the purse until the plastic easily lifts.
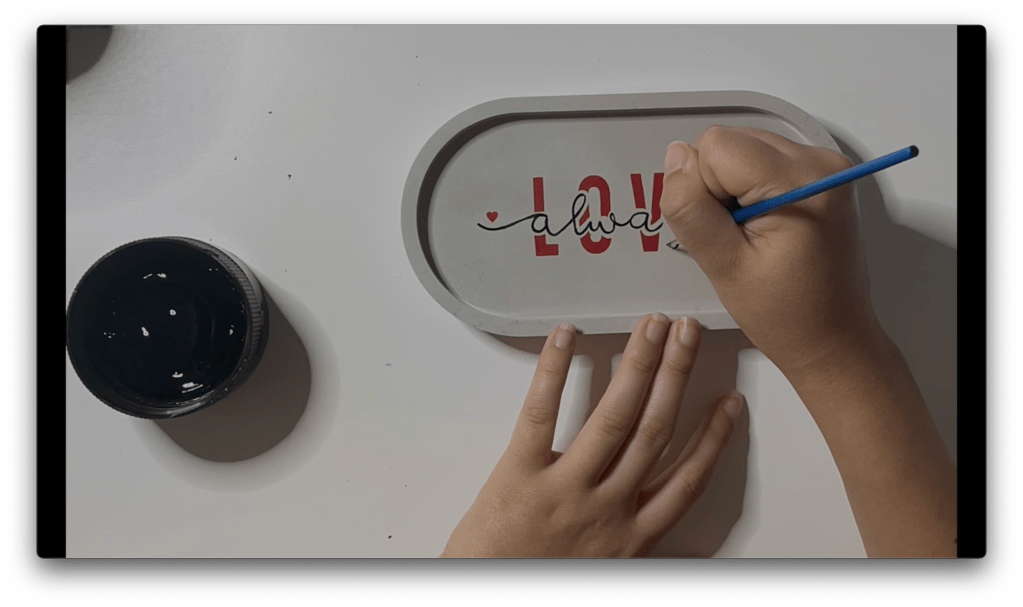
Results: One Adorable Rainbow Purse!!
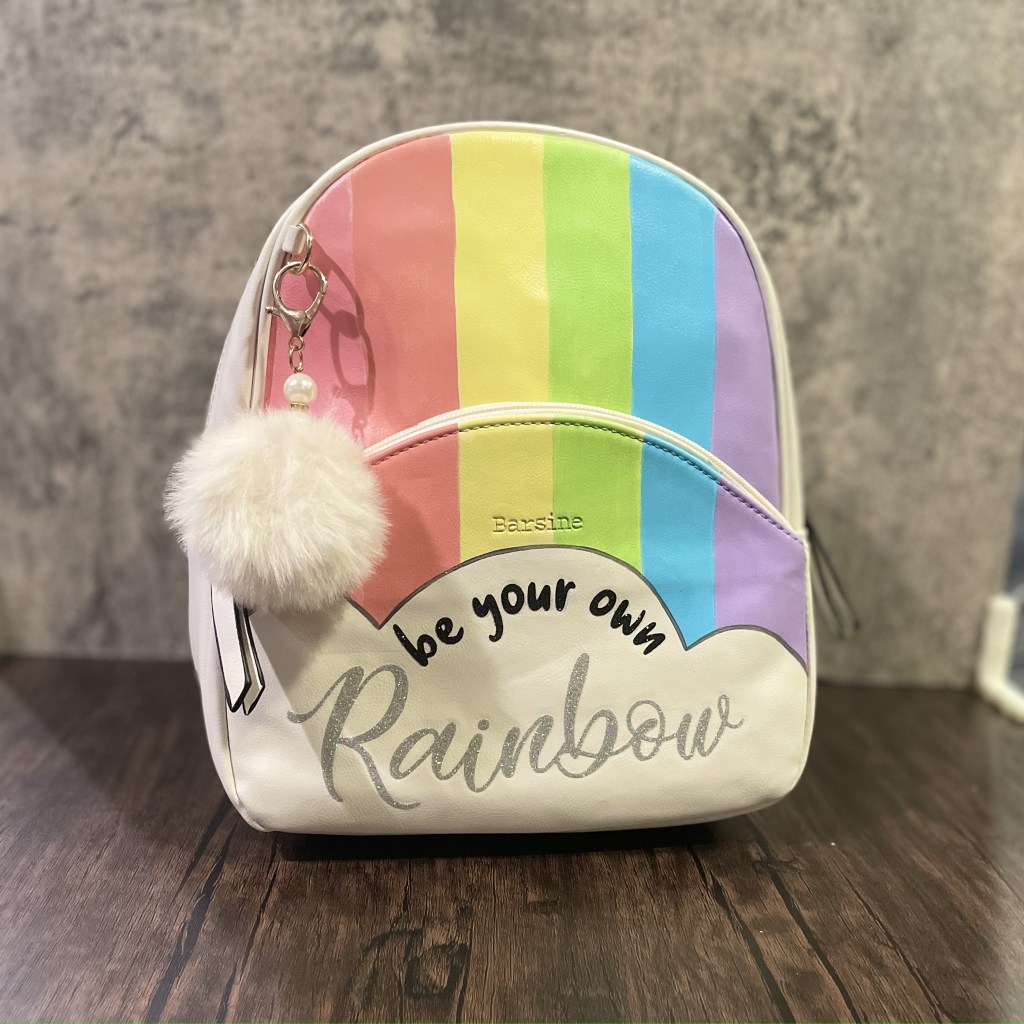
And our project is complete! One adorable bright rainbow purse with shimmering vinyl.
If you don’t have the equipment or supplies to complete this project, this bag is available on our store stargazerlilyboutique.com. However, there is only one available, so get it before it’s gone!
SUBSCRIBE FOR UPDATES