“Be your own rainbow” painted faux leather purse tutorial

Today I’m going to show you how I turned this cute faux leather purse into this adorable rainbow purse!

Step 1: Sketch the outline

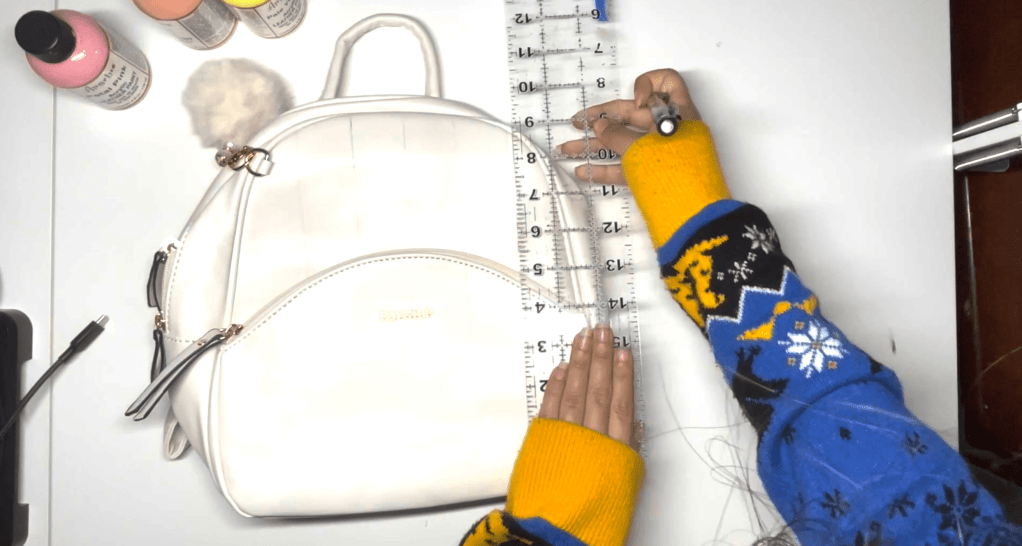
Using a pencil and ruler, measure the width of the purse base and separate it into six lines. Sketch the cloud shape and connect the lines to the cloud. Don’t worry about the pencil marks, the paint will cover them up later.

Step 2: Paint your bag
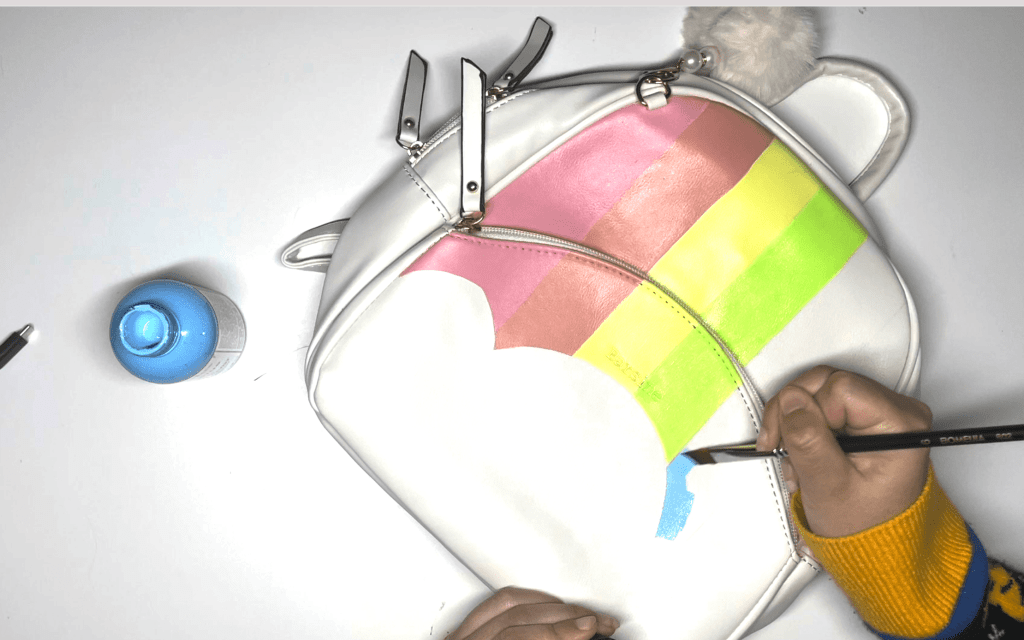
Using an angled paint brush, paint your stripes in rainbow order, one thin layer at a time, allowing each coat to thoroughly dry. This will ensure even coverage.
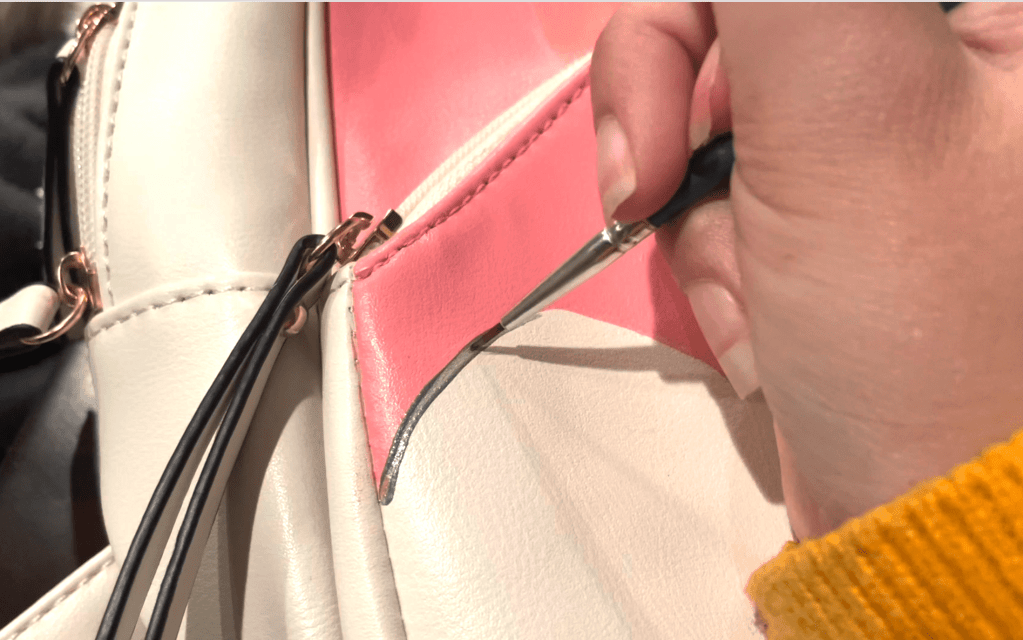
Using a fine point paint brush, outline the cloud with the “pewter” metallic gray paint for a more defined shape.

Step 3: Prepare your text file
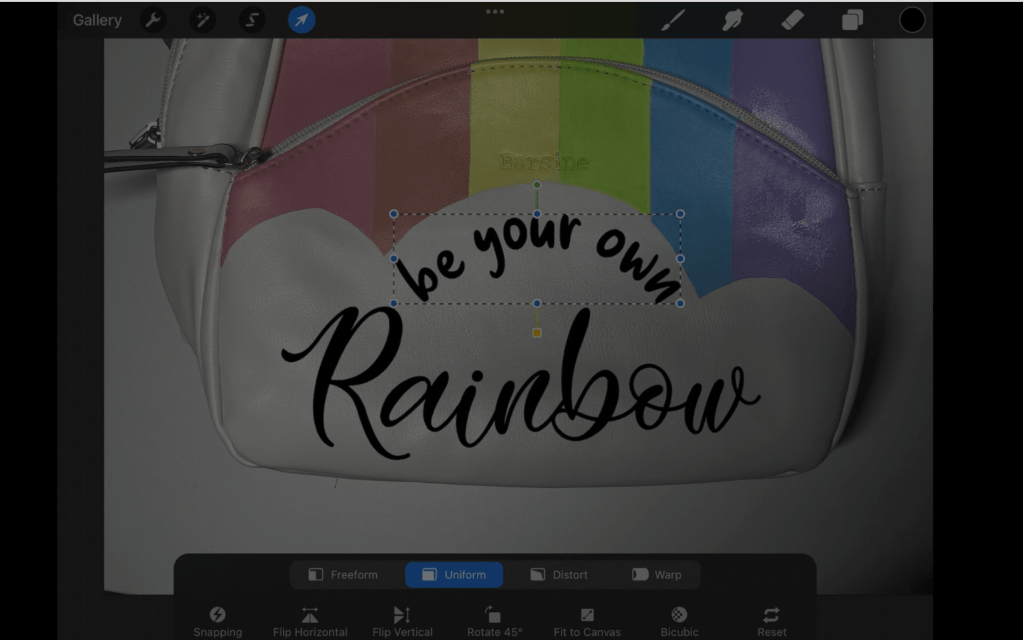
Upload a picture of the bag onto procreate. Add your text and select the font you would like. Line the text the way you would like. Save the text only as a PNG file and convert it to an SVG using the convertio website. Want the SVG file shown on the video? Buy it here for $1

Step 4: Cut the text on a cricut machine
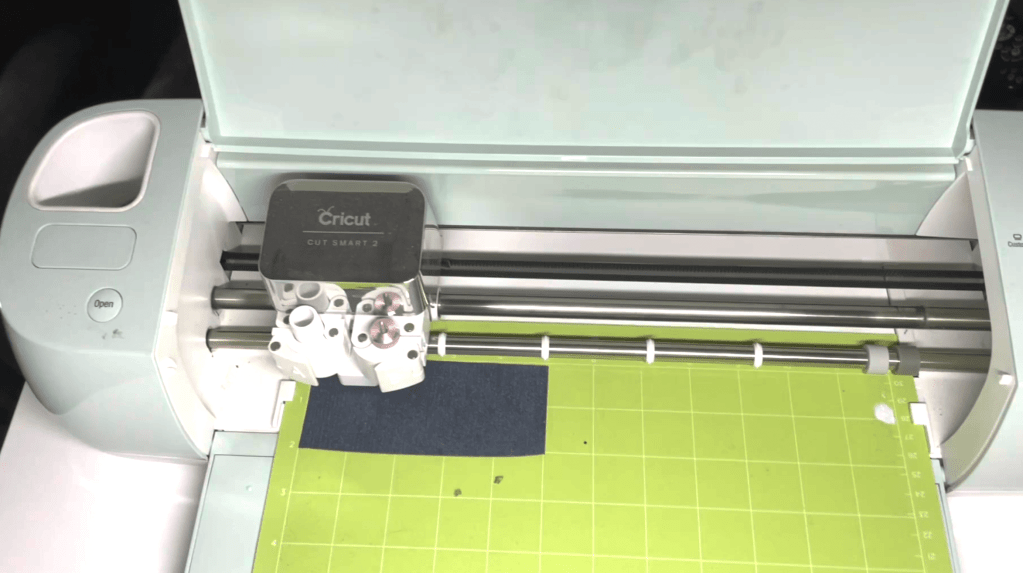
Upload the SVG file. Using the photo reference, estimate how large your file should be. Cut your glitter HTV to the correct size and place it on your cricut mat.

Remember to set the design to mirror. On the custom setting on the cricut dial, set the material to “Glitter HTV” then set the pressure to “MORE”. This will ensure the material cuts through.

Step 5: Prepare and apply the HTV
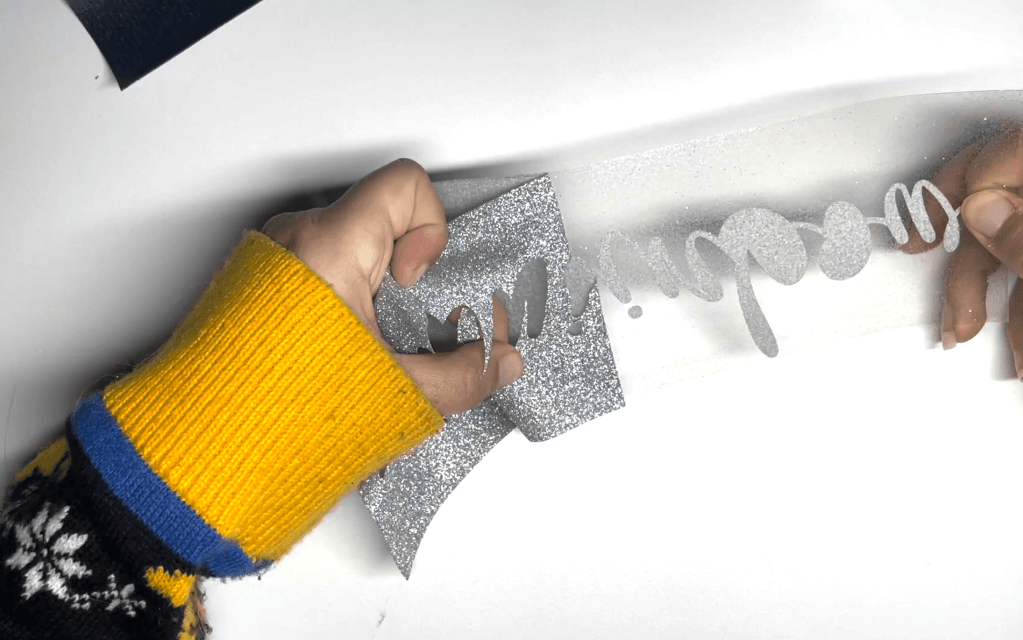
Using a pair of pointed tweezers, weed out the design.
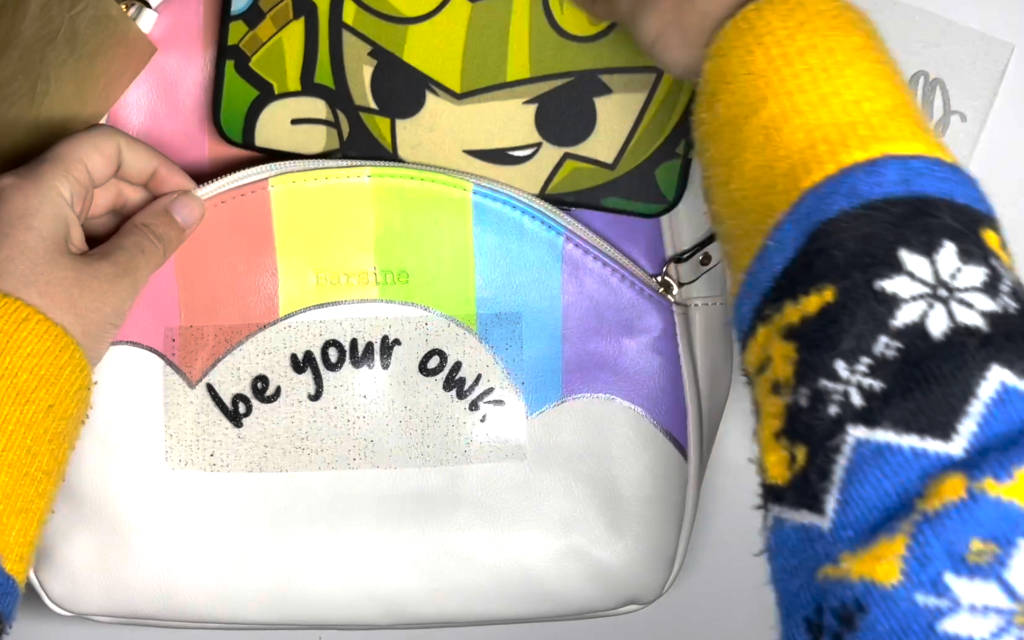
Preheat your iron to the lowest setting. Since the quote is on the pouch portion of the purse, I placed my hardcase wallet inside in order to give me a hard surface.
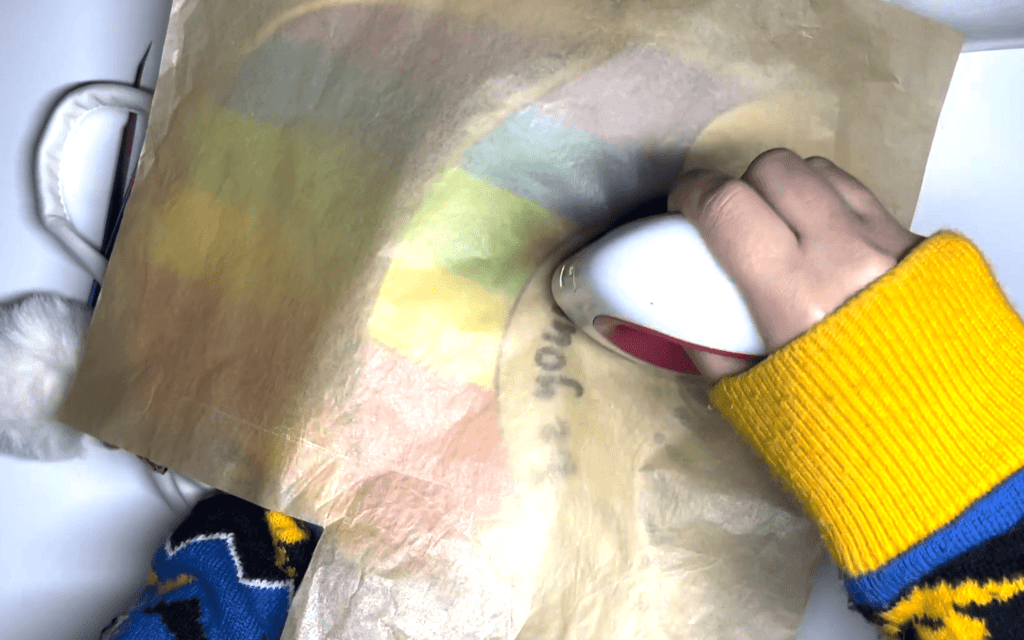
Line up the design, then place a piece of parchment paper above the design for extra protection.

Working in ten second intervals, iron on the HTV onto the purse until the plastic easily lifts.

Results: One Adorable Rainbow Purse!!
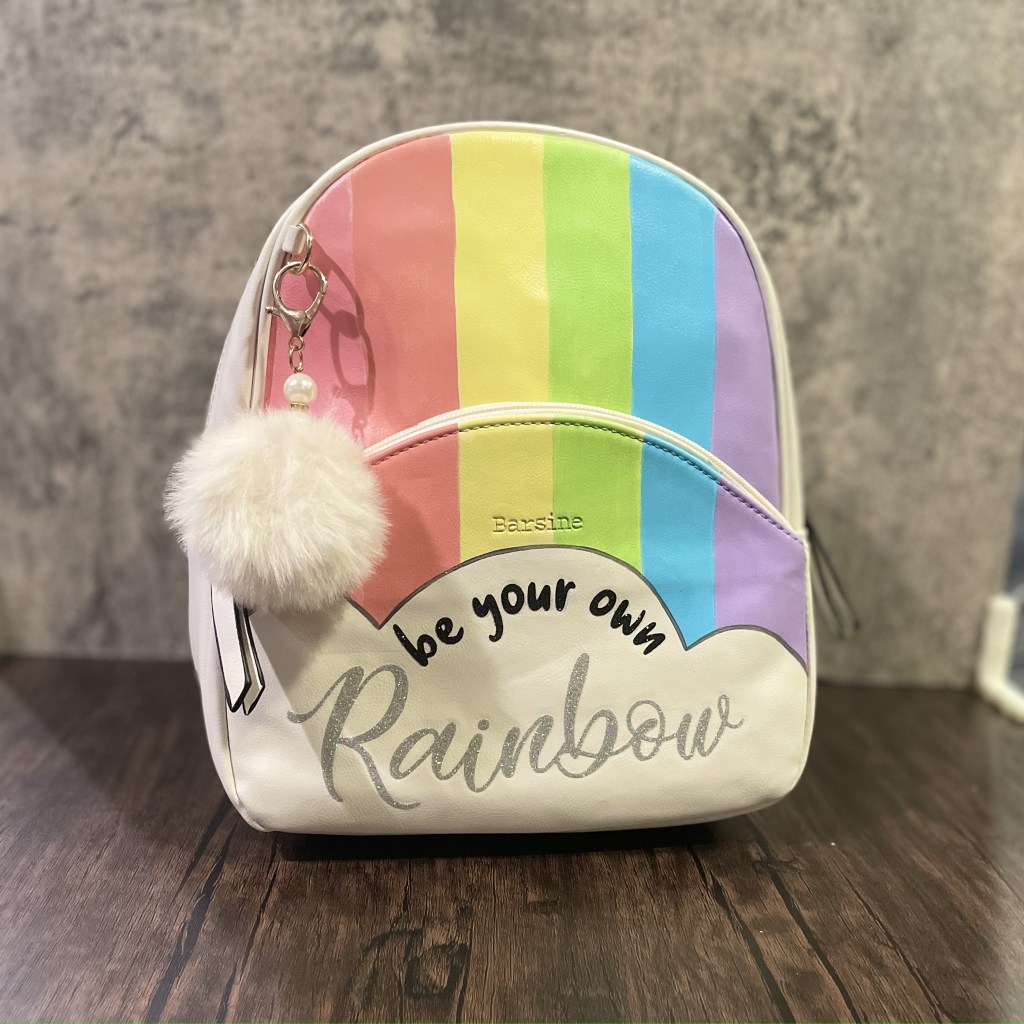
And our project is complete! One adorable bright rainbow purse with shimmering vinyl.

If you don’t have the equipment or supplies to complete this project, this bag is available on our store stargazerlilyboutique.com. However, there is only one available, so get it before it’s gone!

SUBSCRIBE FOR UPDATES

“Bee wild & free” Sublimation Tote Bag Tutorial

Today I’m going to show you how I designed and made this sunflower design on the procreate app, then made a sublimated bag.

FOR THE DESIGN

Procreate app on ipad

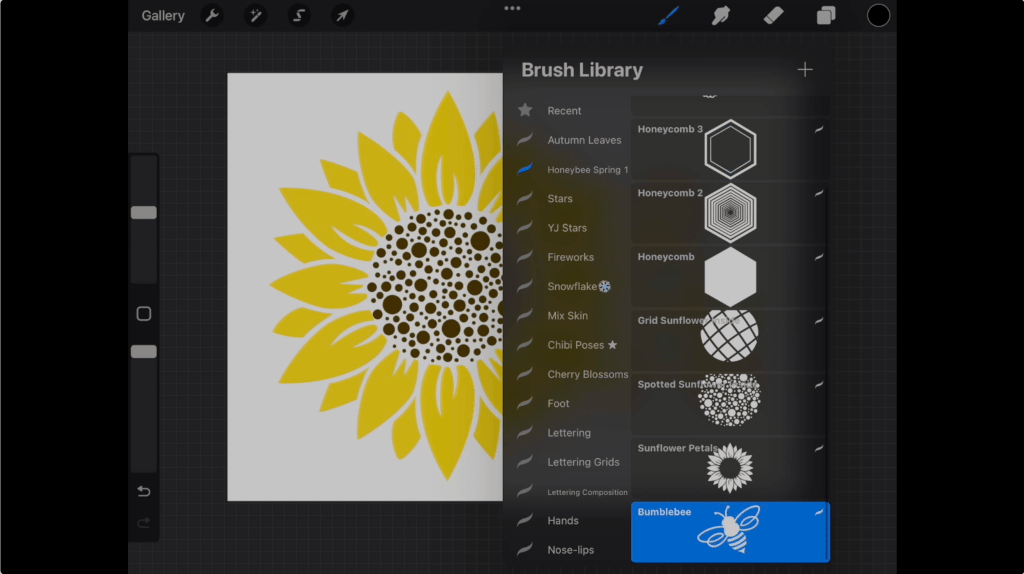
Honeybee Spring Procreate Stamp Pack

0r/ Completed “Bee wild & free design”

“Lovely Home” Font

“Marchila” Font

EQUIPMENT

Sublimation Printer

Heat Press

MATERIALS USED FOR BAG

sublimation canvas tote bag

parchment paper

sublimation print of design (don’t have a sublimation printer? Many etsy sellers sell custom sublimation prints)

Step 1: Download the Stamp Pack

The honeybee spring procreate stamp pack in the video is available to purchase here for just $3. Want the completed design file? Get it here and skip to step 3.

Step 2: Create your design on procreate

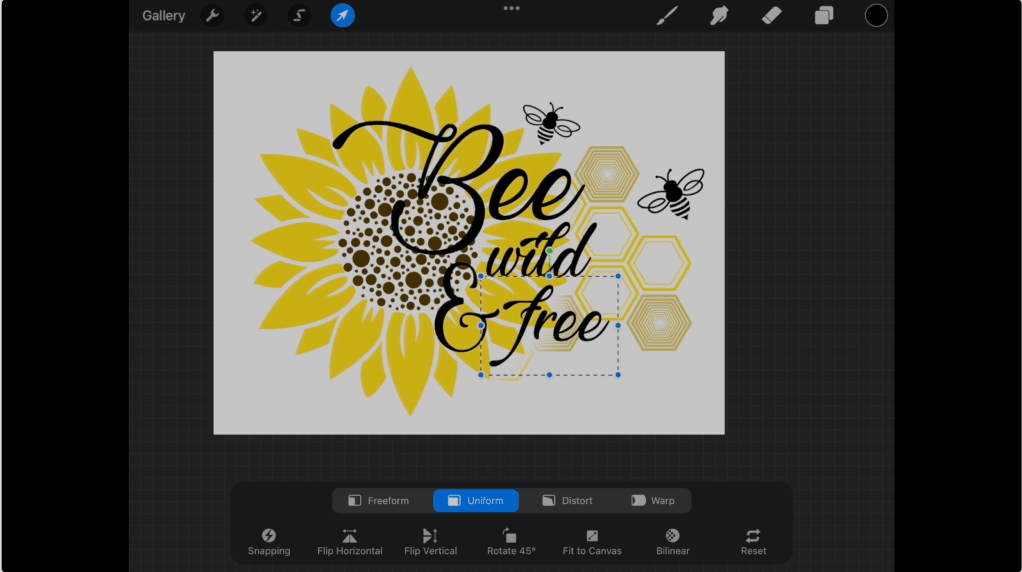
For my design, I knew I wanted a sunflower to be part of the picture so I started by stamping the petals then the center I preferred. I then arranged some of the different honeycomb shapes as well as the honeybees. 

After looking on the internet for different bee pun quotes, I chose my favorite “Bee wild and free” and typed it out. The font I am using in this image is the “Lovely Home” font which I downloaded online. However, the font did not have an and symbol, so I used the “Marchila” font for that instead. The links for both these fonts are in the materials list.

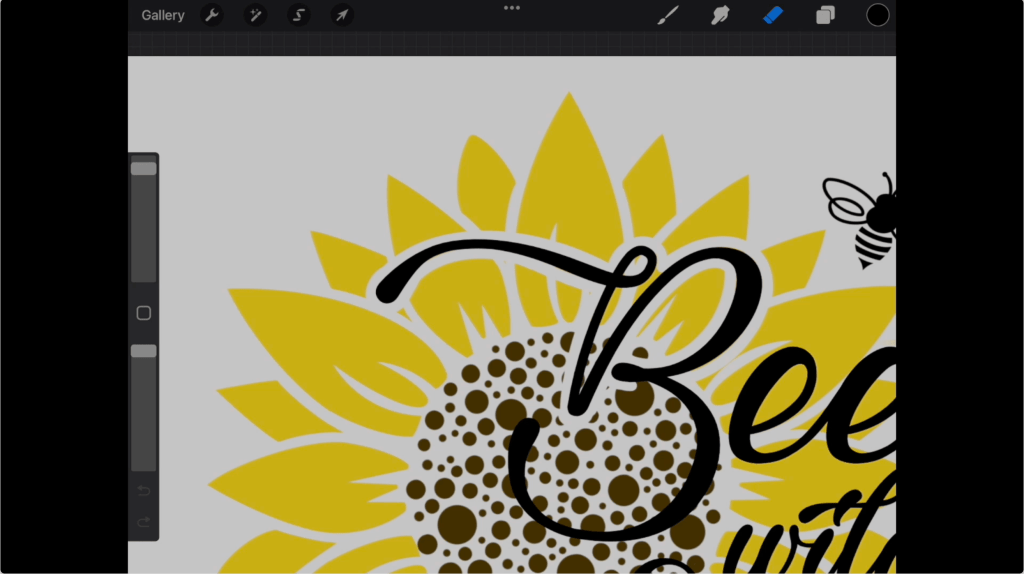
When I placed the font on top of the image, I felt the lettering did not stand out as much as I wanted it to. I fixed this problem by using my eraser to clear a border around the lettering over the sunflower.

Step 3: Print and prep Sublimated Design

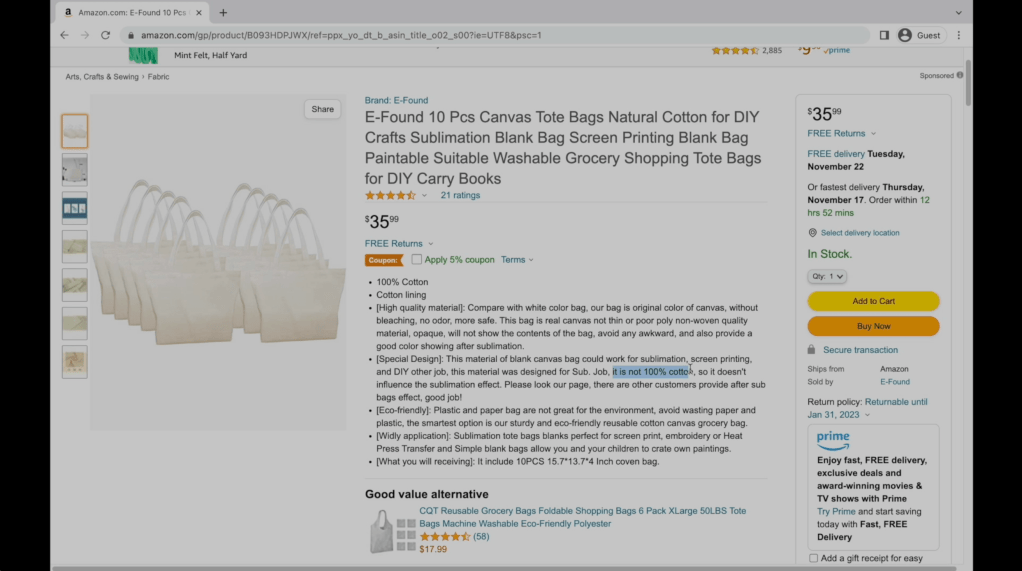
I printed the design using my sublimation printer and purchased a 10 pack of sublimation bags on Amazon. Sublimation items are made of polyester or have a special polyester coating which allows the ink to fuse into the fibers. Sublimation will not work on any material not containing polyester. If you do not have access to a sublimation printer, there are Etsy sellers who sell sublimation transfers.

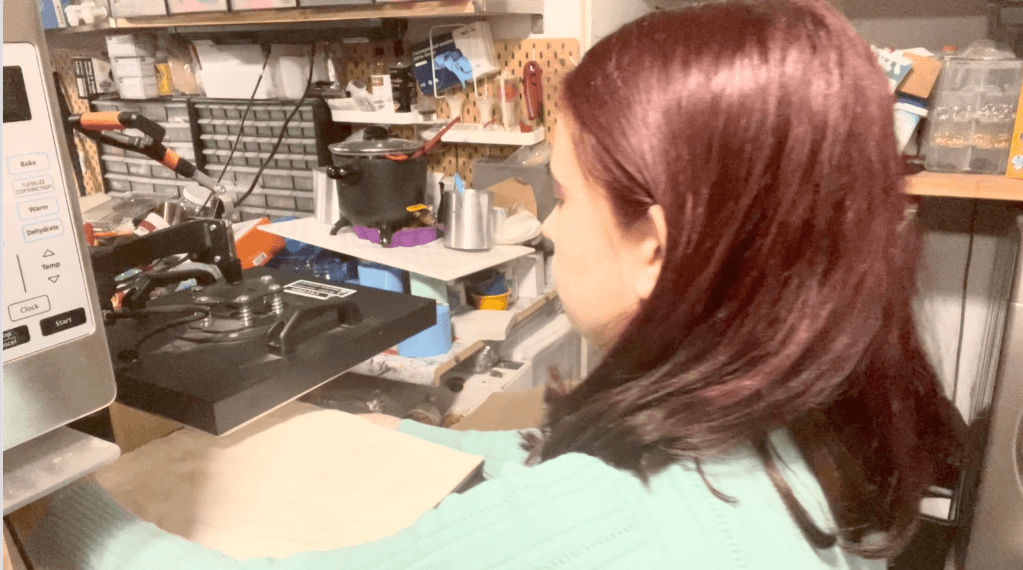
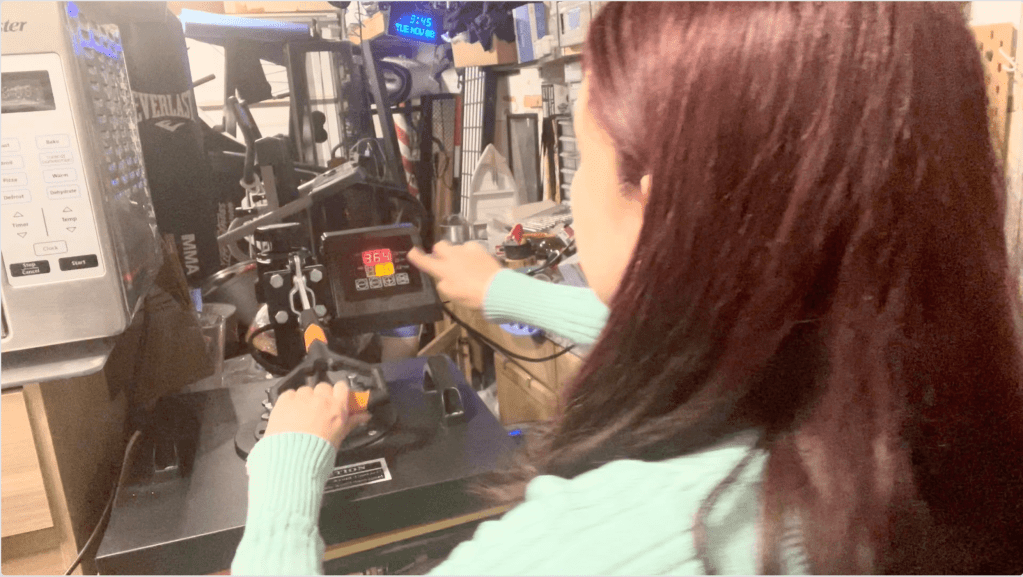
To apply your sublimation transfer, preheat your heat press to 365 degrees. Lay out your bag and heat it for about ten seconds to prep the surface. This will remove any wrinkles or fold lines from the surface.

Next, line up the design on the bag and use heat resistant tape to hold the design in place. Place a sheet of parchment paper above the design for extra protection. The amount of time needed will vary depending on your heat press. For my heat press, pressing the design for 80 seconds gave me the best results. Remove the papers to reveal the completed bag!

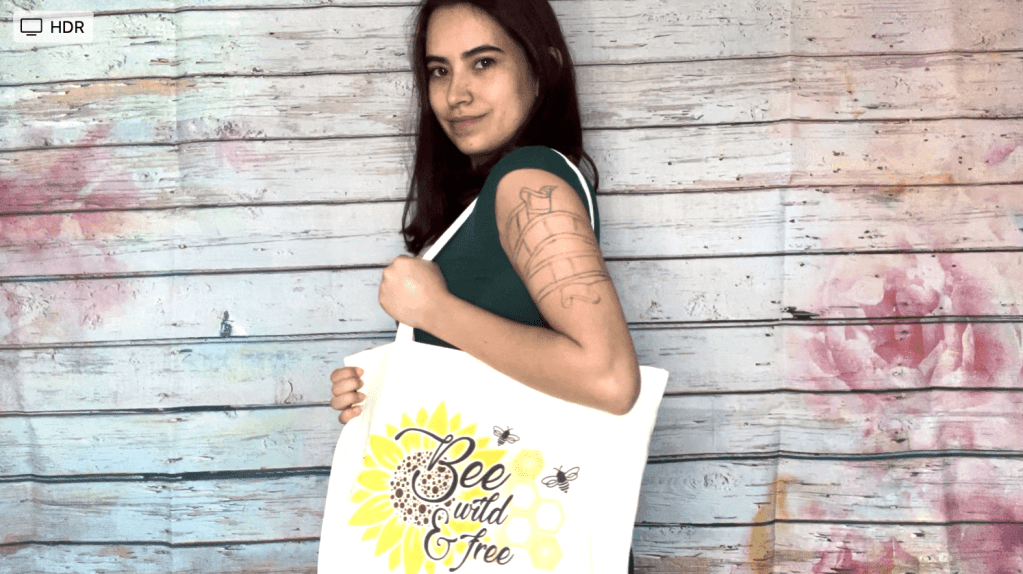
Results: One Cute Book Bag!!

And our project is complete! One adorable spring themed canvas bag.

If you don’t have the equipment or supplies to complete this project, we are selling these bags on our store stargazerlilyboutique.com. However, there are only ten available, so get them while you can!

SUBSCRIBE FOR UPDATES
I entered the doctor strange contest!

There are two things I love: Drawing, and pop culture. I have been obsessed with Marvel movies and comic books since I was 12 years old and because of that, I started my own fanart instagram. Well last week I was excited to see that in celebration of the new Doctor Strange movie, marvel was having a fanart contest for the chance to win two tickets to the world premiere! I of course got to work.

My specialty when it comes to digital art is realistic art that I make on procreate. Something about drawing a picture one layer at a time, adding various shades, has always been very soothing for me.

Designing my submission…

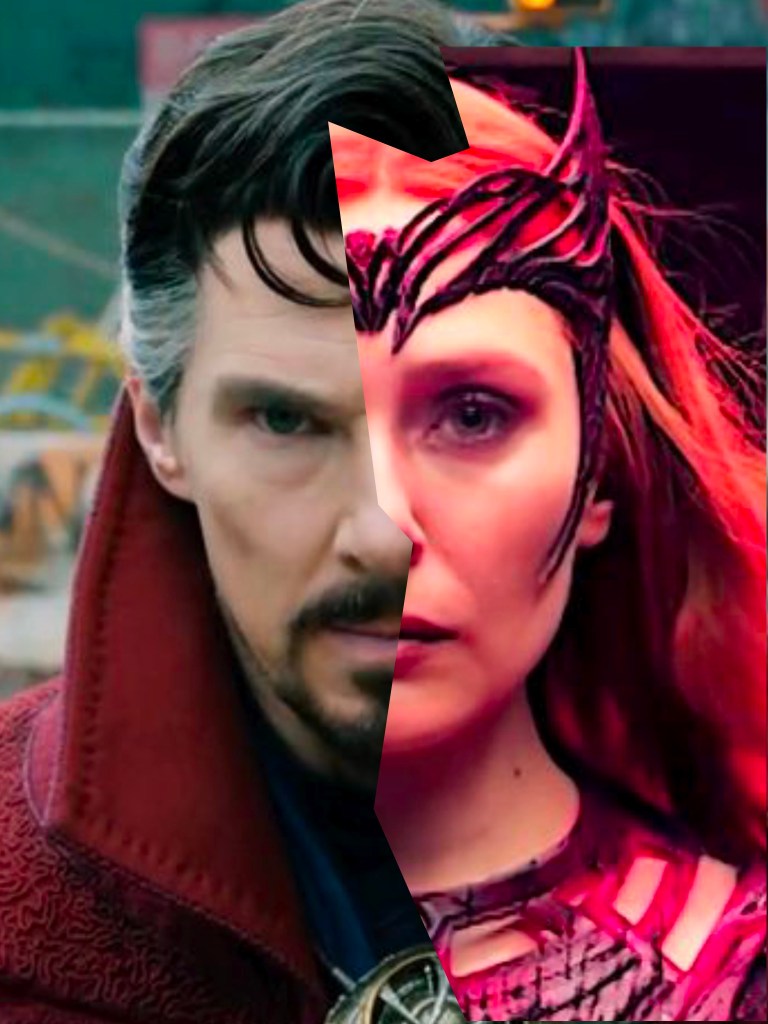
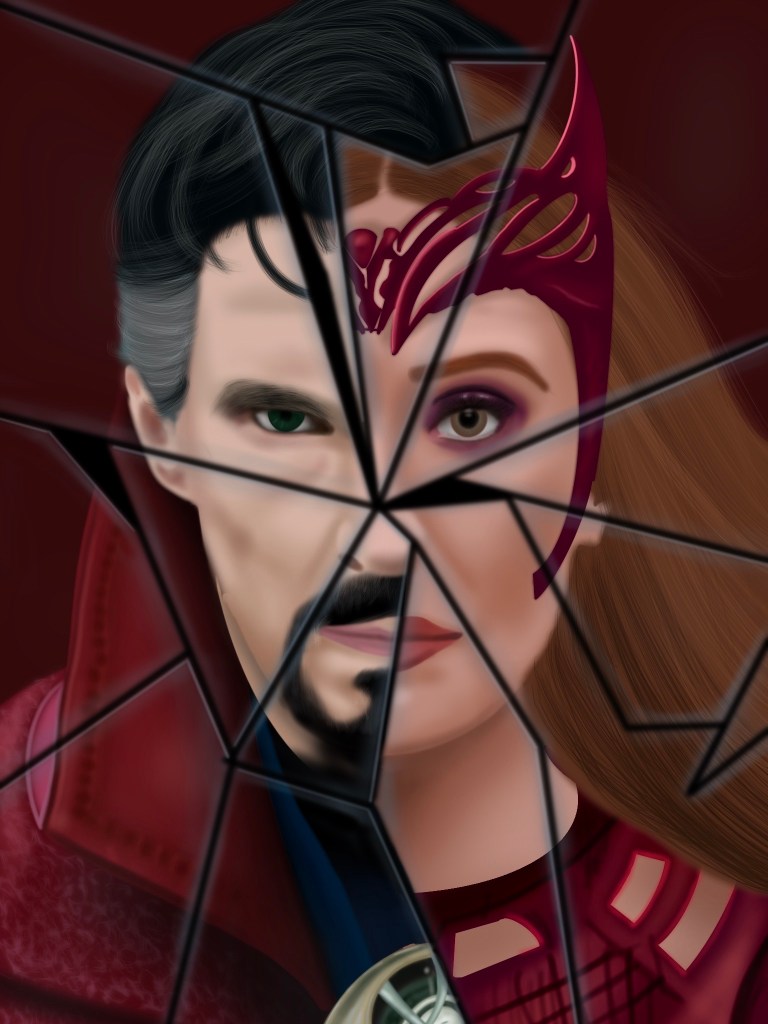
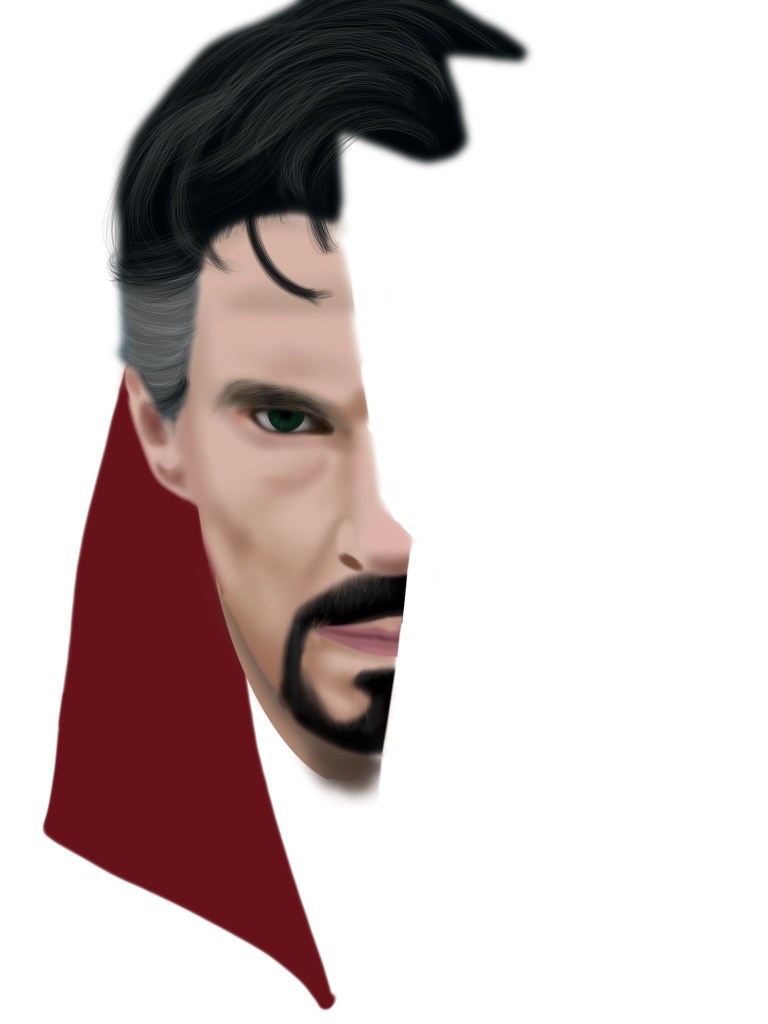
One thing that has been consistent in most of the Doctor Strange posters has been the broken glass theme. The poster I’ve seen most is the one where Doctor strange is surrounded by shards of glass with snippets of the characters within them. When I decided I wanted to have the same affect, I took a picture of Doctor Strange and another of Wanda and separated them in half with jagged lines to get a base for my drawing.

With that decision made, it was time to begin, starting with drawing Doctor Strange.

Drawing Doctor Strange and Wanda…

The problem with pictures like this is that the color is not always reliable. Although the photo of doctor strange is perfect, the photo of Wanda shows her in a dark room, lighted by candles and her power, leading to a redish tint. Because of this, when reaching her half, I pulled a well lit photo from wandavision to get more accurate colors.

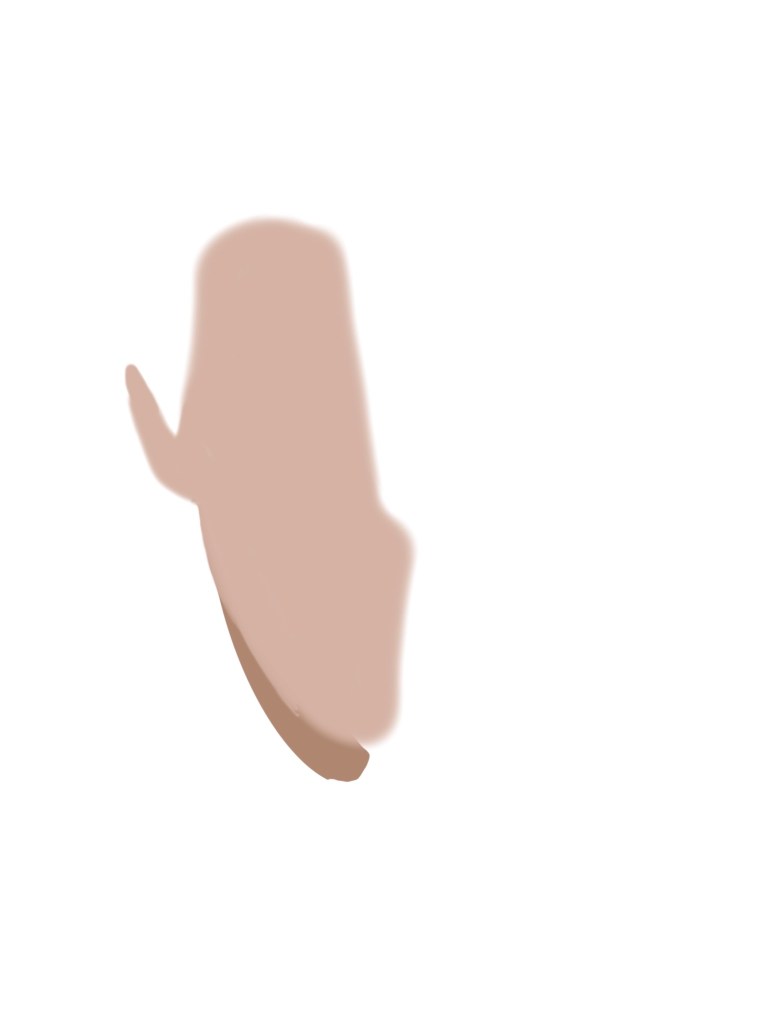
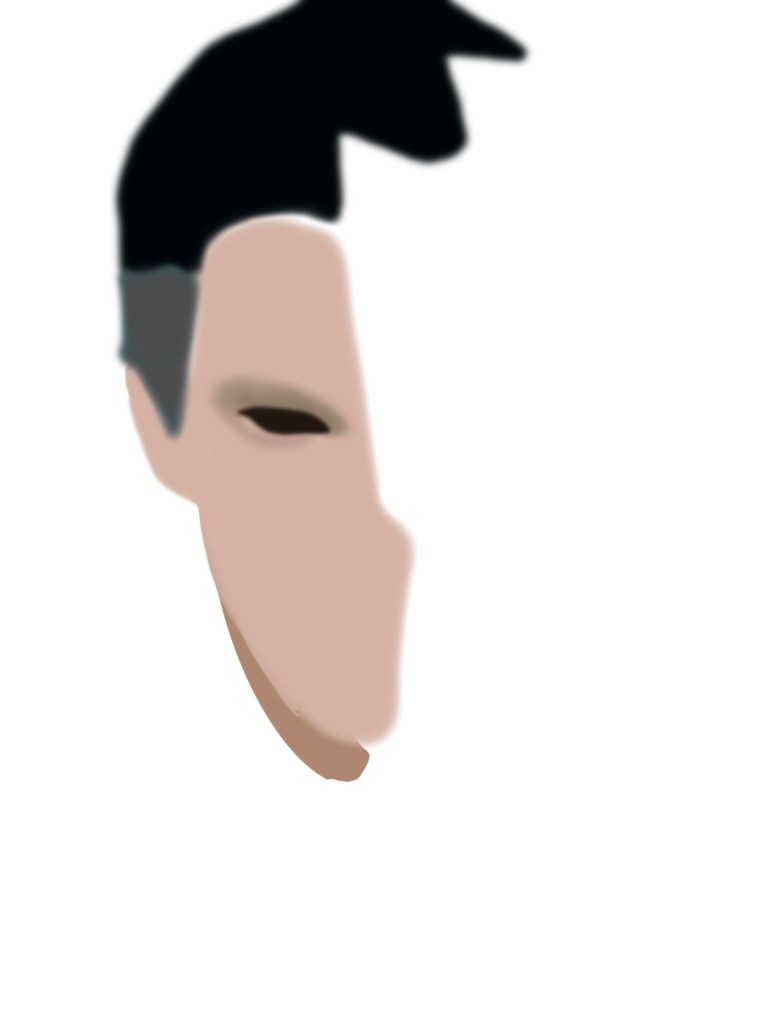
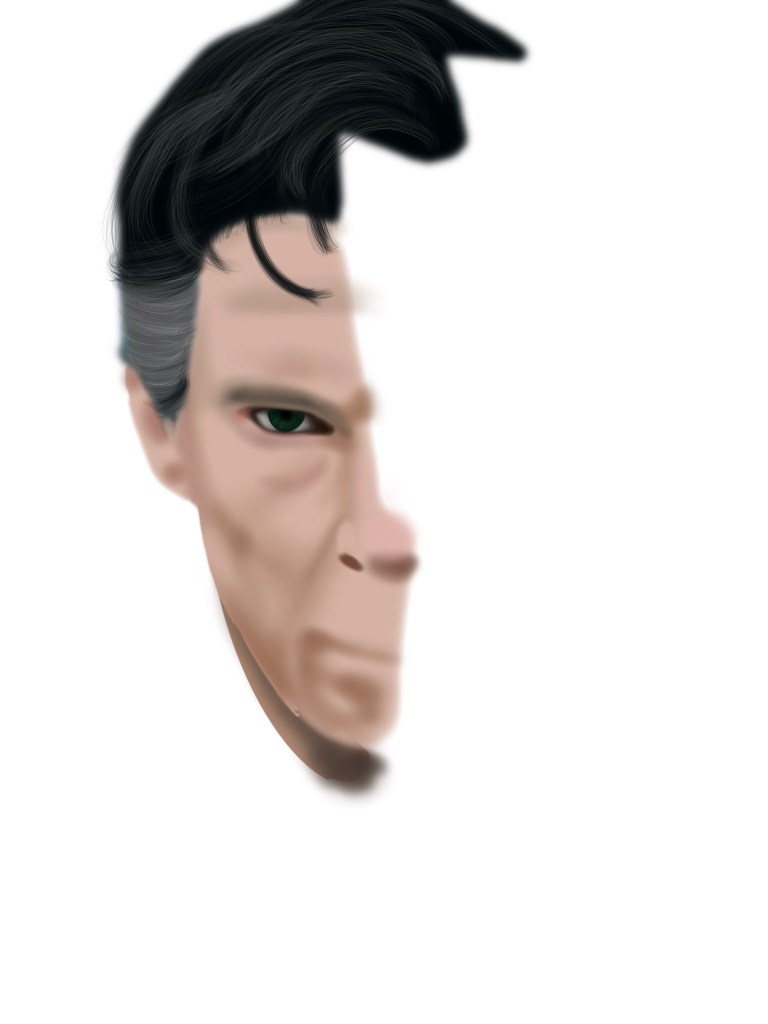
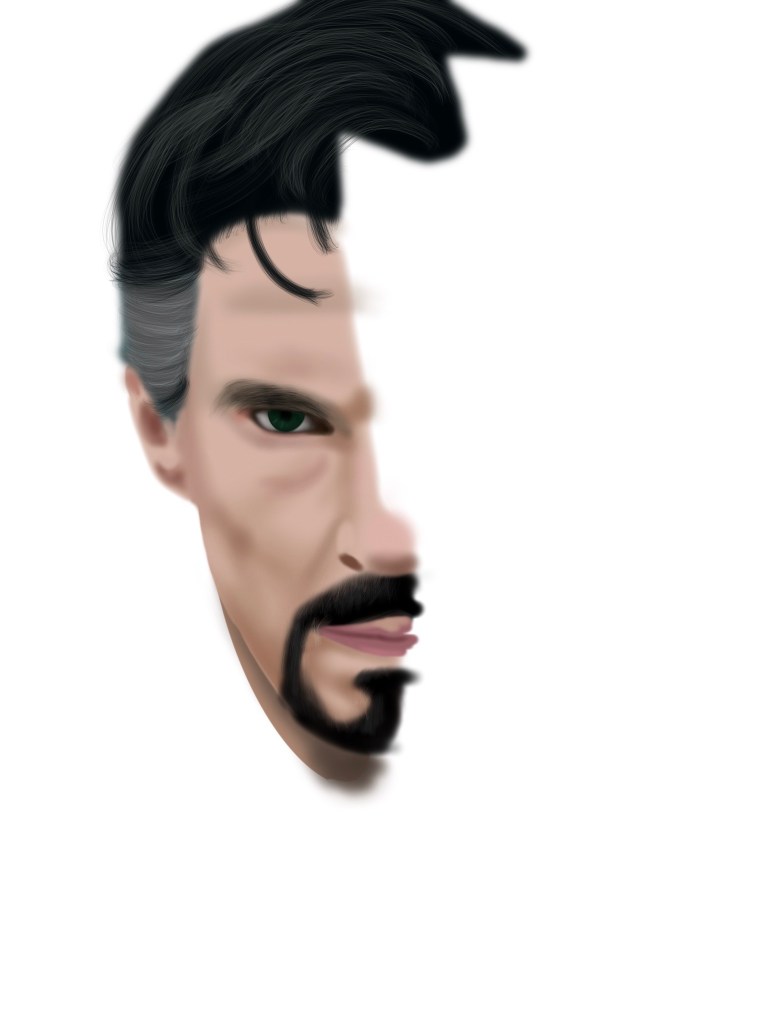
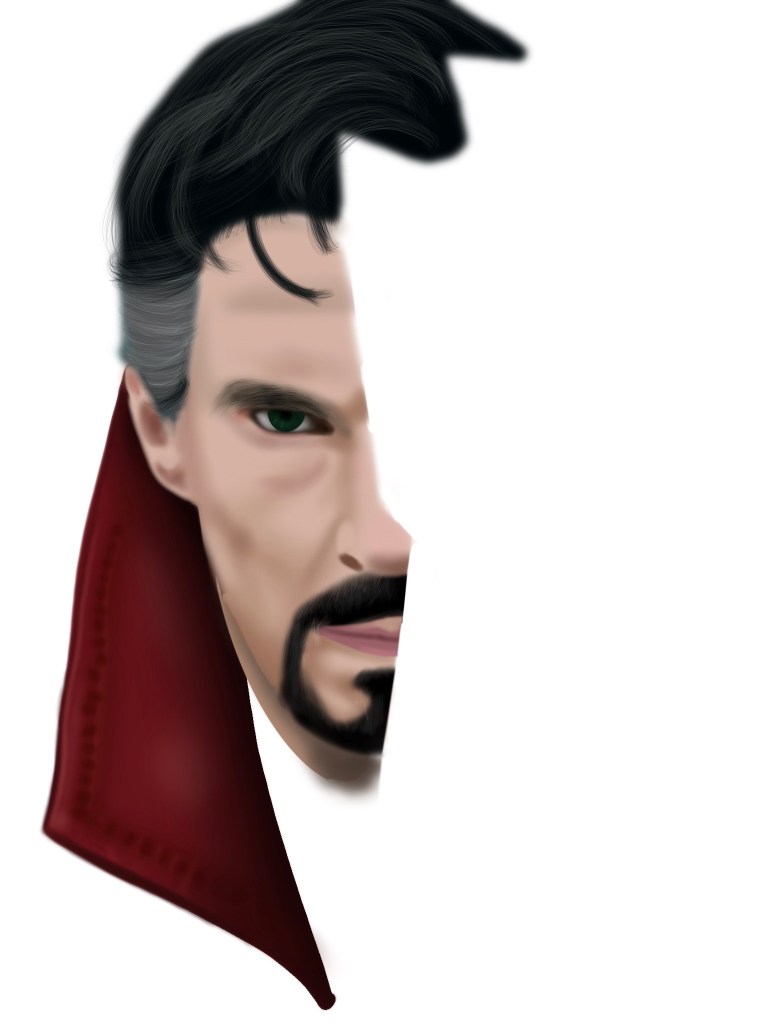
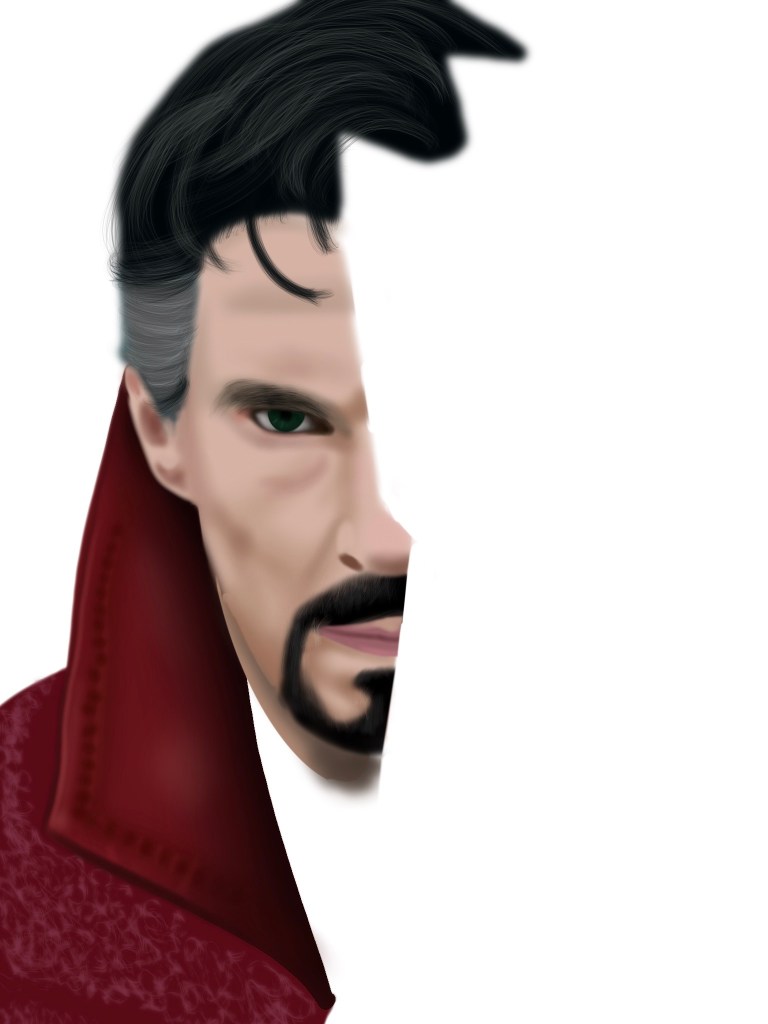
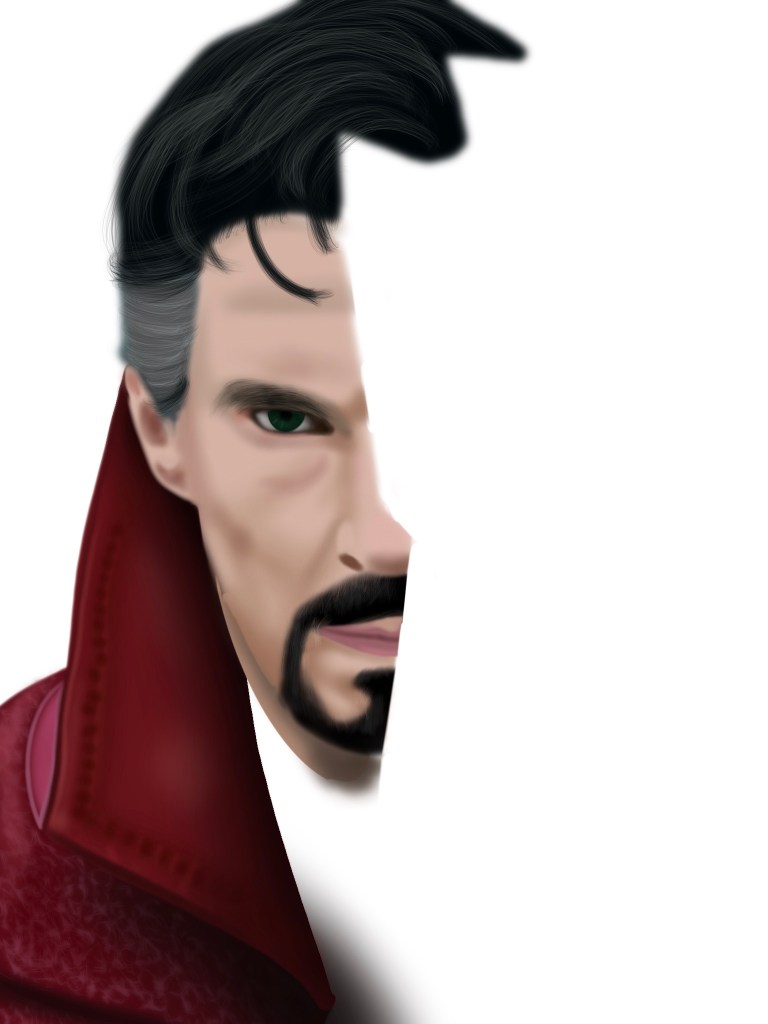
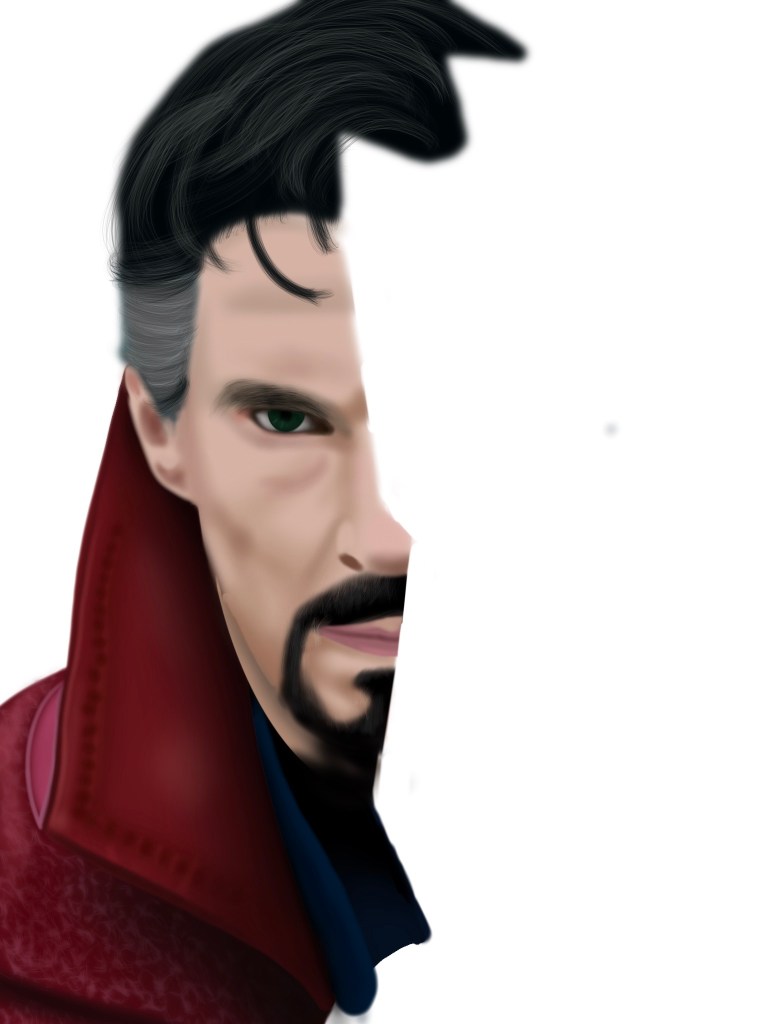
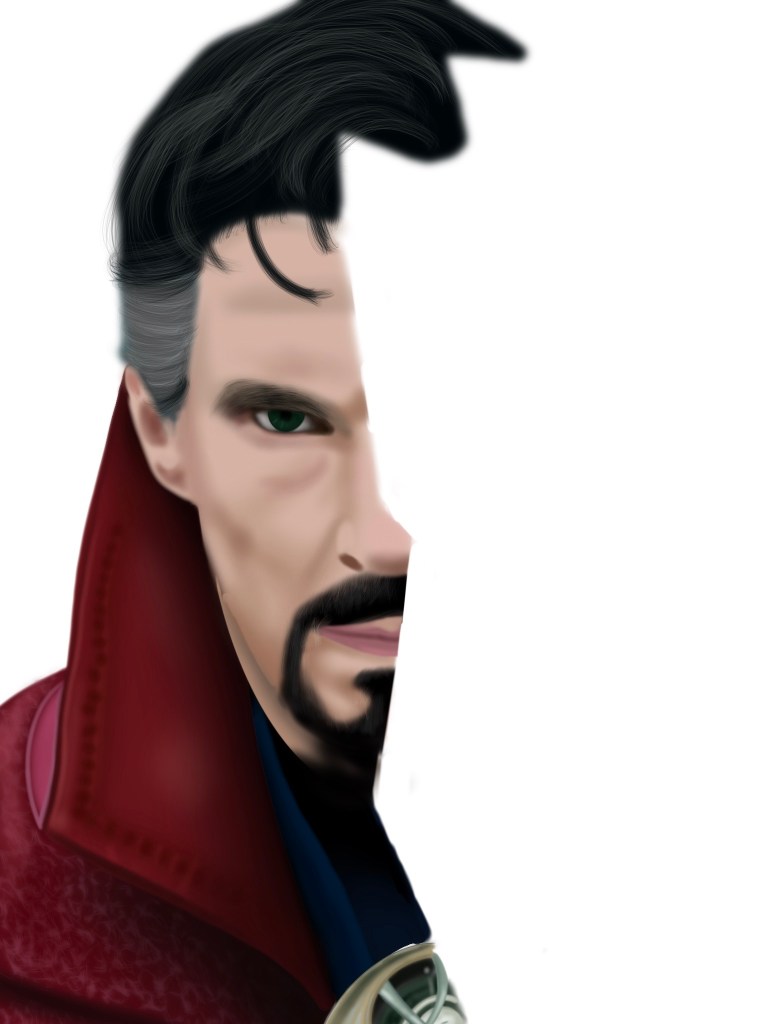
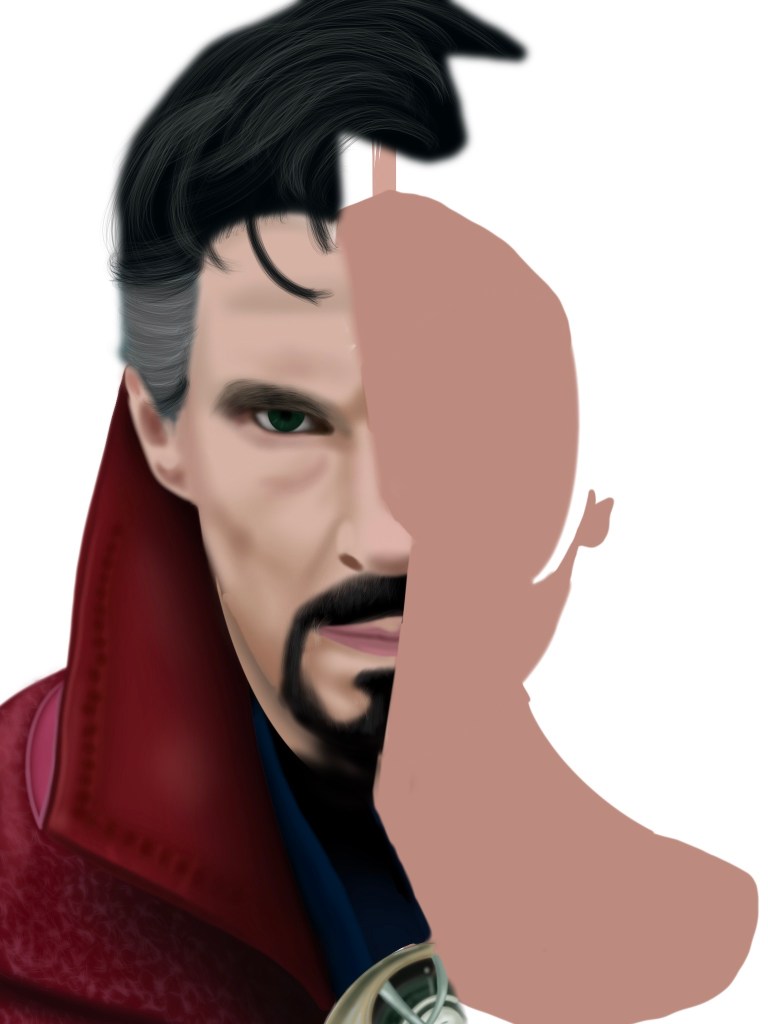
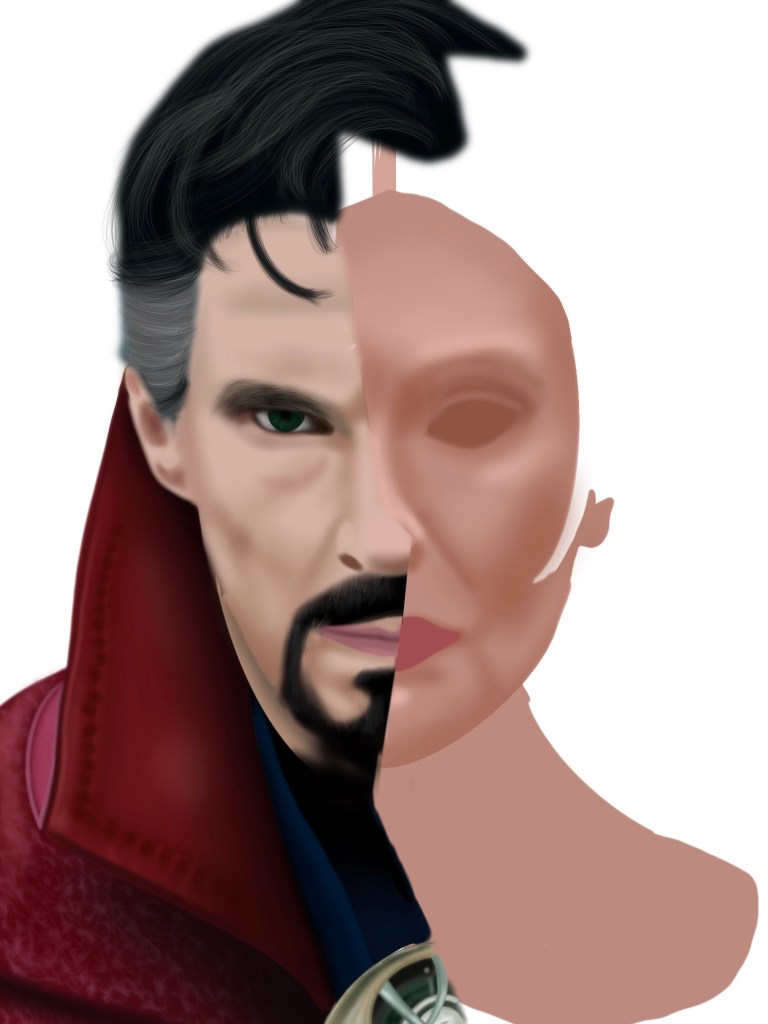
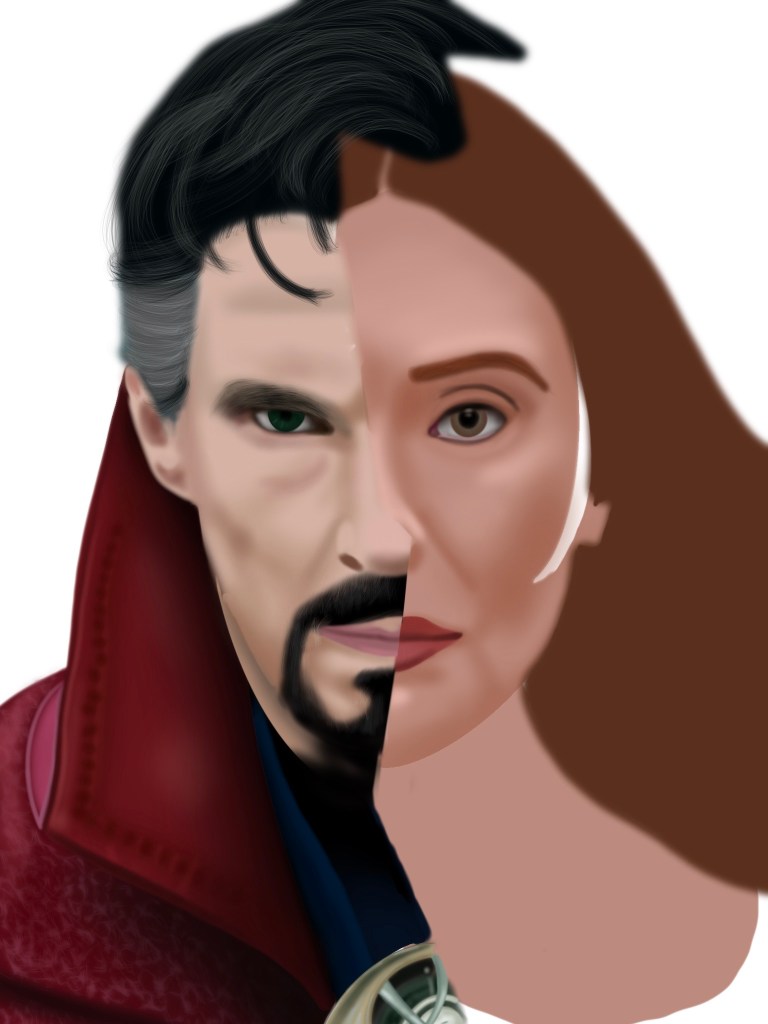
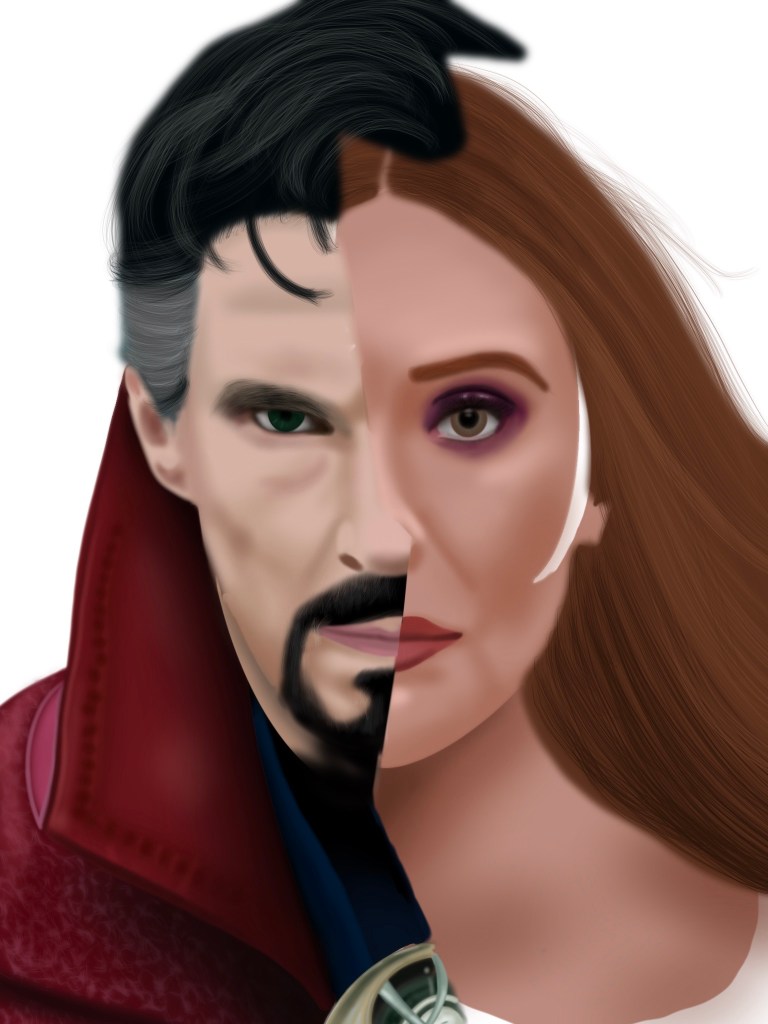
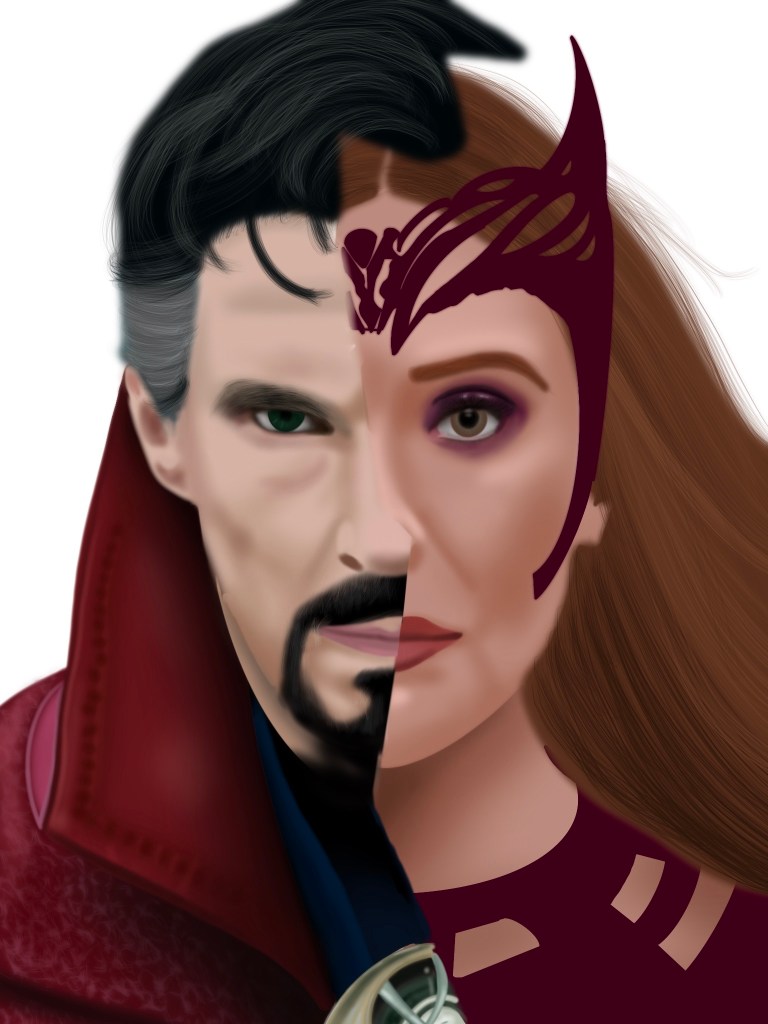
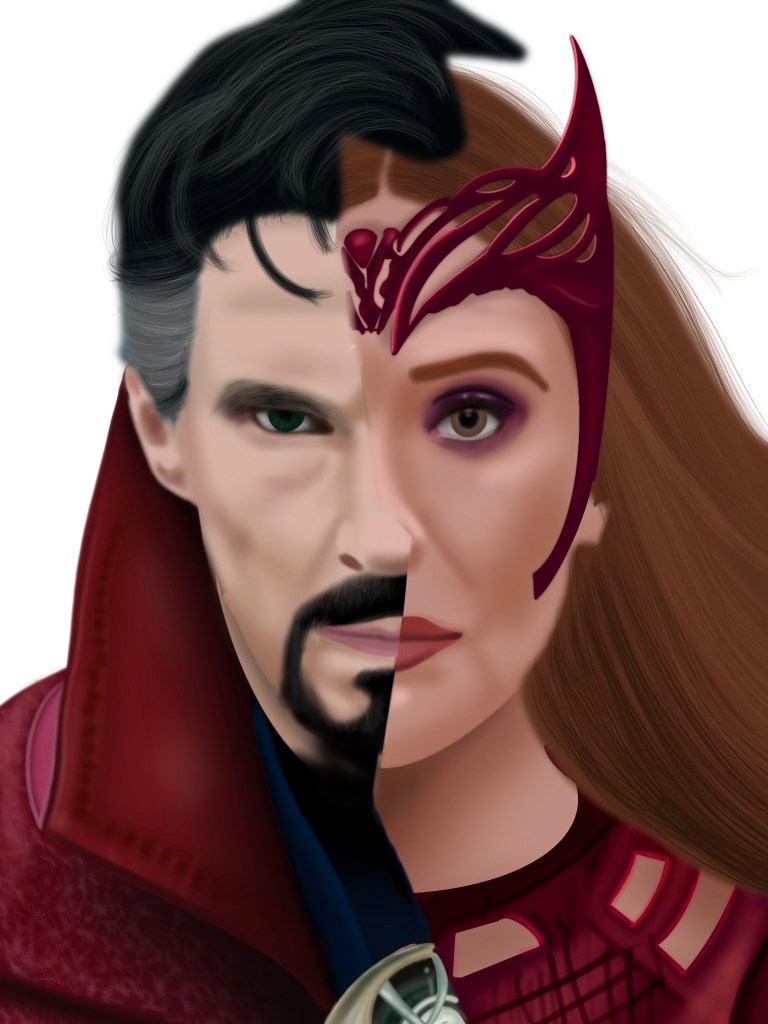
When drawing a character, I always begin by tracing around their heads and hair, filling them in with the solid color. After that, I work in layers, beginning with the lightest color and closing in, using the airbrush on procreate to shade their faces, then eliminating the negative space by selecting it on the solid layer then erasing on the shaded layers. The final step is adding the finer details such as the hair which I use the “fine hair” brush on procreate in various colors to achieve. I don’t have a video of this drawing, but I do have a youtube with some older work. Below are the panels of the layers.

Finalizing the drawing…

With my characters finished, it was time for the final touches! To match the characters, I decided on a dark red backdrop. As for the glass effect, I began with the airbrush in a small size and drew my lines. The next step was adding highlights using a white airbrush which I softly used along the “glass pieces”. Then I shrunk the airbrush to outline some of the black lines for a cleaner edge. The final result was this!:

Each time I draw the characters, I am excited to see the improvements that come from just practicing! The more I draw, the more I find myself adding more detail, leading to a more realistic image each time while still keeping the airbrushed look I love having in my drawings! Of course I do hope I win, but regardless, the experience creating this image was as rewarding as usual.