
Today I’m going to show you how to paint a concrete tray using images from the cricut design space! Check out our youtube for more video tutorials in the future.
MATERIALS USED
-permanent red
-permanent black
Concrete Sealer (coming soon)
Step 1: Pick out a concrete item if you haven’t already
The concrete tray in the video is available to purchase here for just $15.
Step 2: Create your stencil on the cricut design space

Our first step is to create a shape for our stencil. Open a new project, and add a square to the design space. Unlock the shape and set it to the size needed. Since I am using our concrete tray, I measured the inside. To match the measurements, I will need to set the shape to 4″x3.25″.

Add a circle and set it to the same height as the rectangle. Line up the circles to both sides and weld the entire shape together. Then adjust to the correct length. I had to adjust the overall shape to 6.5″

Next, upload the files you will be using. Cricut has a variety of images available on their design space. Some free, and some available for a one time purchase. I will be using this “love always” image.

Weld the image pieces together by color. Place the image over the stencil shape and slice to create the stencil.
Step 3: Cut and prep your stencil
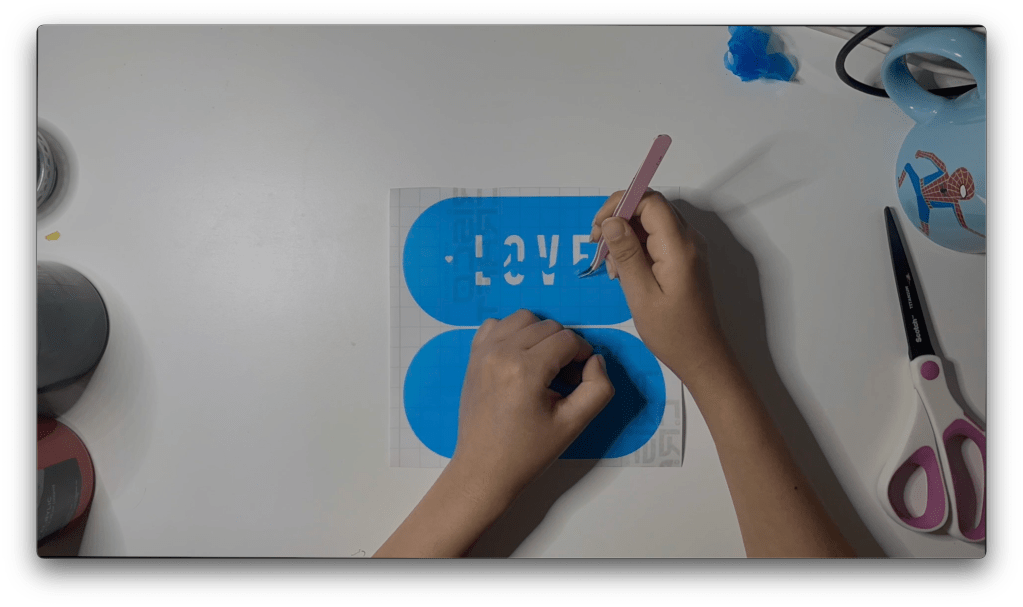
Cut your stencil vinyl to the needed size and place it on your cricut mat. Set the dial to custom and select the stencil vinyl setting. Weed out the design using a pair of pointed tweezers or a weeding tool.

When transferring your stencil to the journal surface, DO NOT use transfer vinyl. I’ve learned that Transfer vinyl is often too sticky and can lead to the stencil vinyl tearing. Instead, using masking tape, laying it on the stencil then removing the backing. Since my stencil is all one piece, I was able to line up the stencil without using masking tape.
Step 4: Paint your concrete item
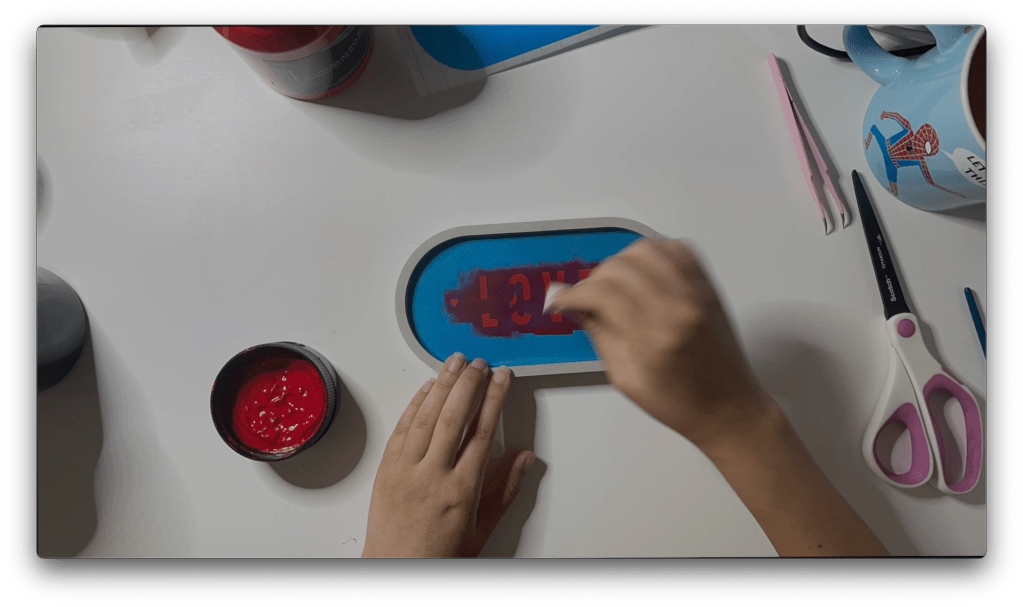
Using a makeup sponge, pick up some of your paint and paint the tray with a stamping motion. It is best to work in thin layers, allowing it to dry in between layers. You can use the same sponge for multiple colors by cutting off the edge.
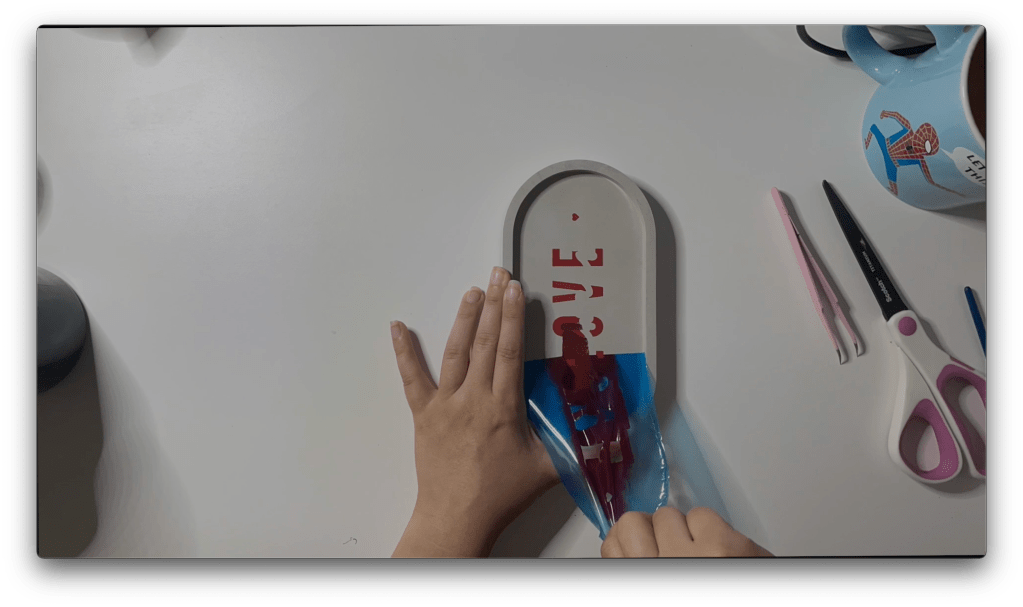
Once the image is completely painted, remove your stencil.
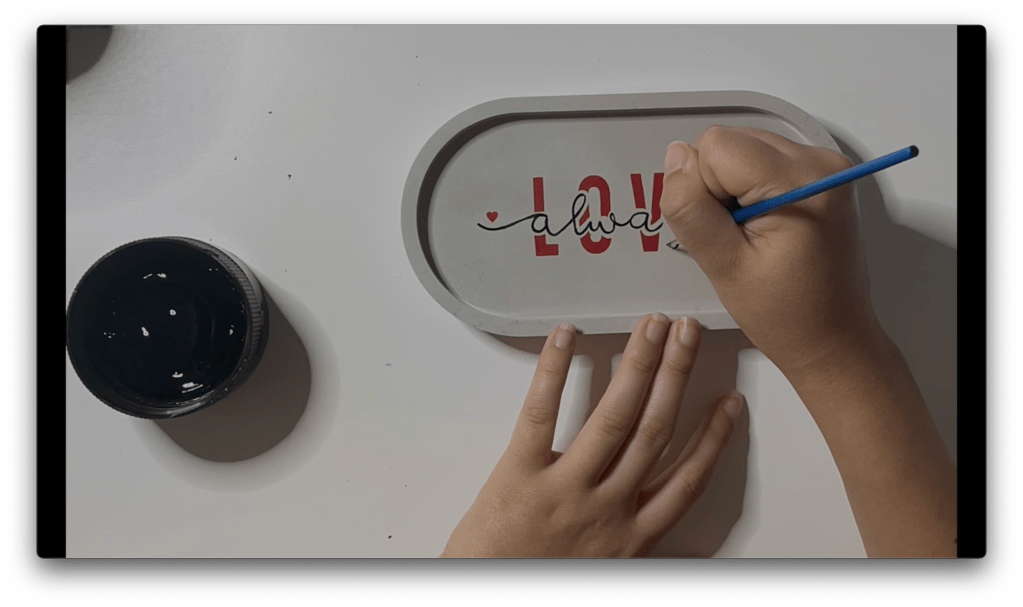
Part of the way through the painting process, I realized I could not use the cursive lettering stencil for two reasons. One was that I was unable to layer the two due to lack of visibility. The other was the acrylic paint was too delicate and peeled off when layering stencils. Instead, I used a fine point paintbrush to carefully paint on the cursive writing.
Step 5: Seal the tray

Set the tray aside allowing the paint to dry for at least 24 hours. Using a damp makeup sponge, seal the concrete tray using a concrete sealer, applying a thin layer. Set aside the tray to dry another 24 hours then add another thin layer of sealer.
Results: One Beautiful Concrete Tray!!
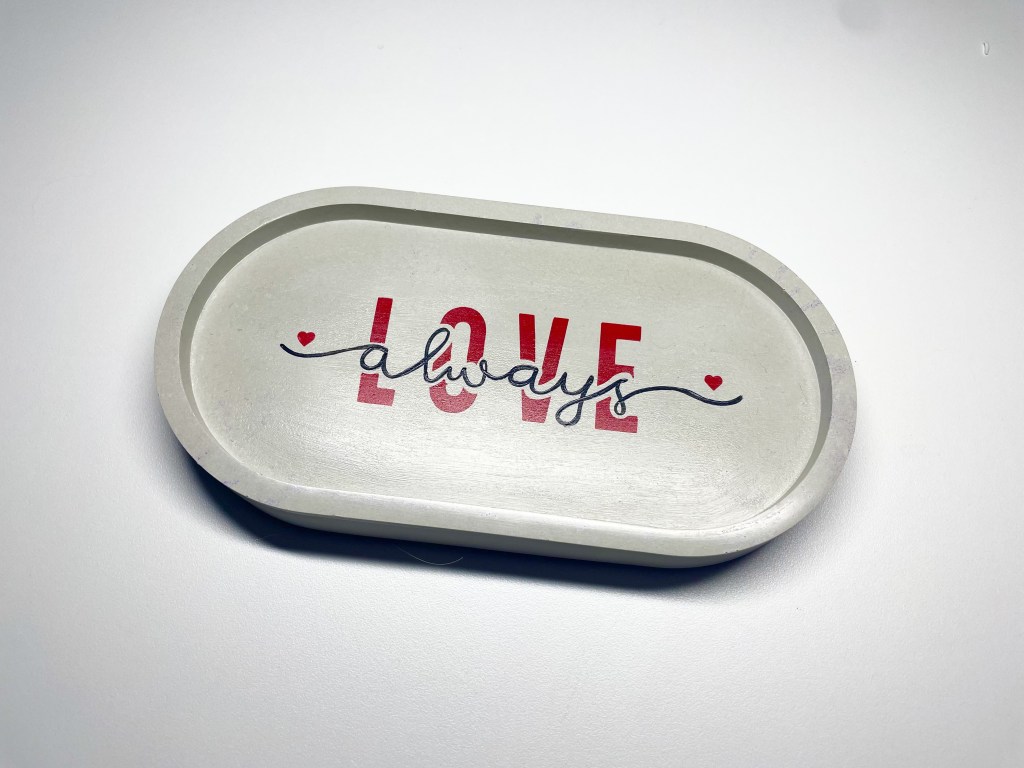
And our project is complete! One beautiful concrete tray with your own personal touch.
If you don’t have a cutting machine to complete this project, we are selling this tray on our store stargazerlilyboutique.com. However, there is only one available!
SUBSCRIBE FOR UPDATES
