
Today I’m going to show you how to make this cute autumn journal using our autumn leaf SVG files! Check out our youtube for more video tutorials in the future.
MATERIALS USED
-white
-pale yellow
-yellow
-pearlescent rose gold
-tangering
-fire red
-burgundy
Step 1: Purchase the Autumn Leaf Files if you haven’t already
These autumn leaf filese are available to purchase here for just $4.
Step 2: Create your stencil on the cricut design space
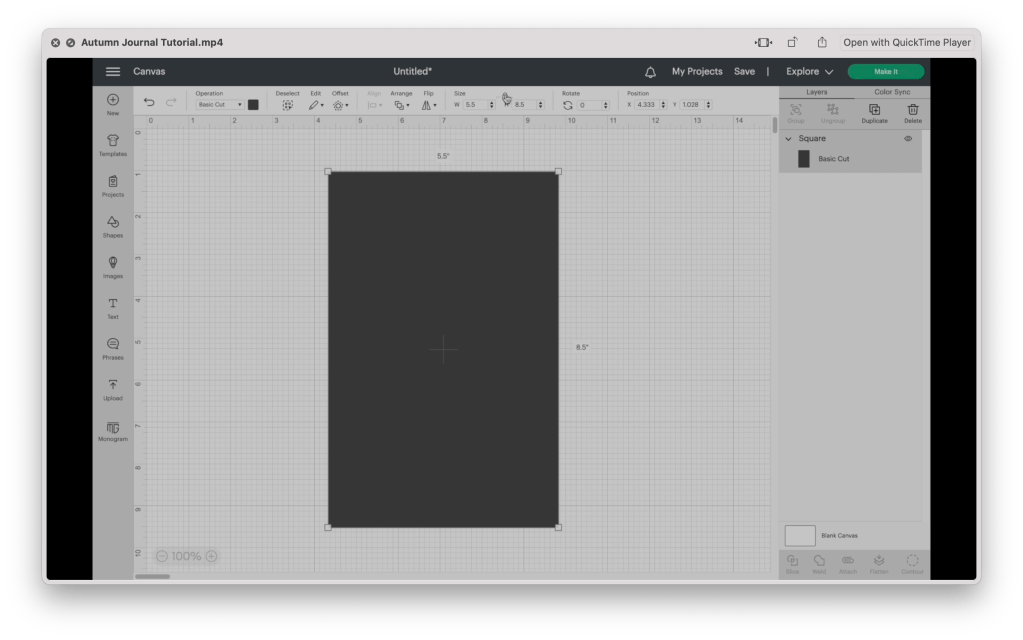
Our first step is to create a shape for our stencil. Open a new project, and add a square to the design space. Unlock the shape and set it to the size needed. Since I am using an A5 journal, I will need to set the shape to five and a half inches by eight and a half inches.
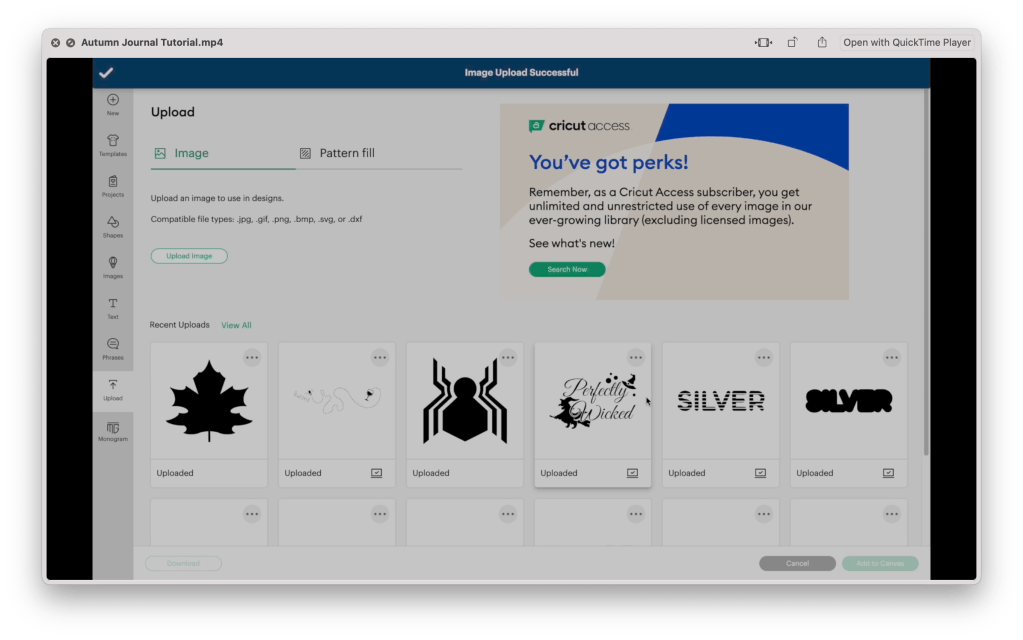
Next, upload the files you will be using. For this project, I am only uploading the leaf silhouette SVG files. I knew I wanted a quote at the center, so I put together this using procreate. You find the download on the materials list, or use one of the various designs available on Etsy.
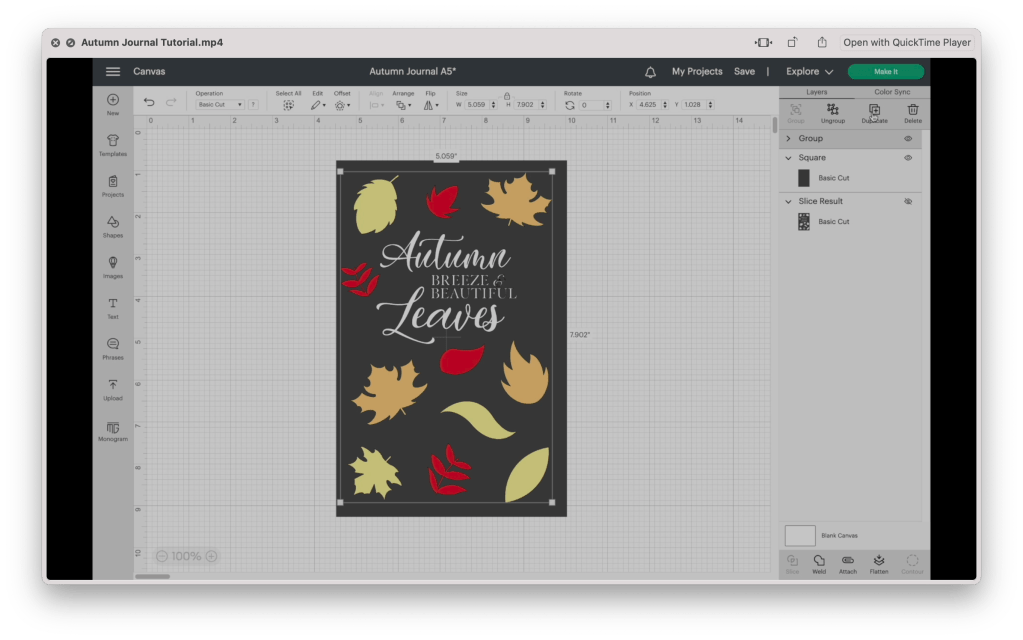
Arrange the files onto the rectangle, resizing the pieces and arranging them until you have a design you like. I am changing the color of the leaves to give myself a better idea of how I want the final product to look.
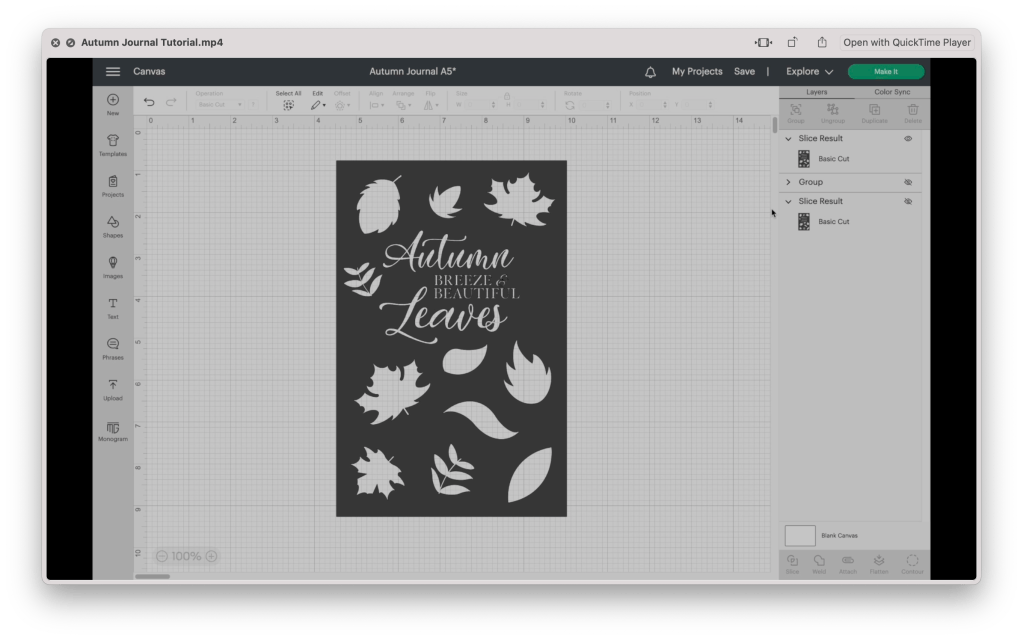
Once your design is complete, select everything except the original rectangle and group them together. Since I would like to keep this as a reference, I am making a copy of this group and turning off the visibility while I continue to work. Weld the files together. Then select them along with the rectangle and slice the image. Delete the excess parts so you are left with a single stencil of the design. Now it’s time to cut!
Step 3: Cut and prep your stencil
Cut your stencil vinyl to the needed size and place it on your cricut mat. Set the dial to custom and select the stencil vinyl setting. Weed out the design using a pair of pointed tweezers or a weeding tool.
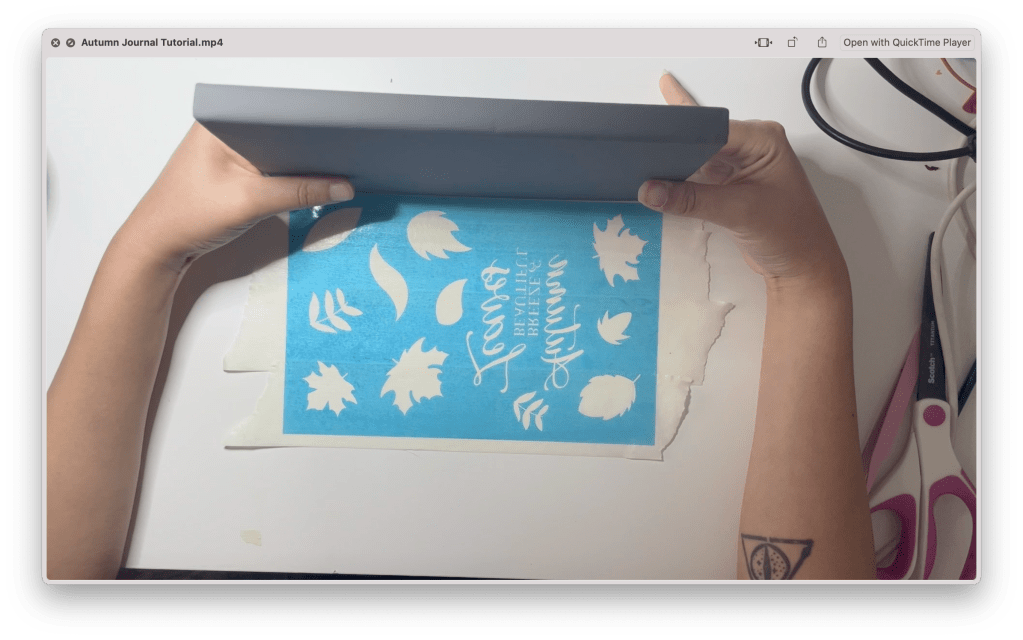
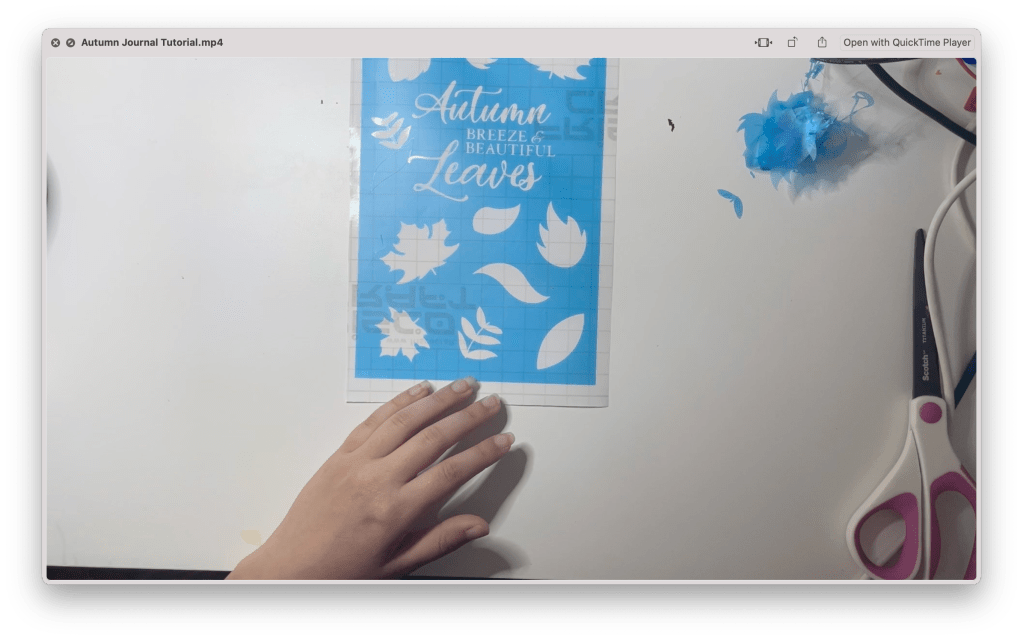
When transferring your stencil to the journal surface, DO NOT use transfer vinyl. I’ve learned that Transfer vinyl is often too sticky and can lead to the stencil vinyl tearing. Instead, using masking tape, laying it on the stencil then removing the backing. Line the journal up to the stencil and press it flat. Then remove the masking tape, one strip at a time, pushing down any smaller details that may lifting with the tape.
Step 4: Paint your journal
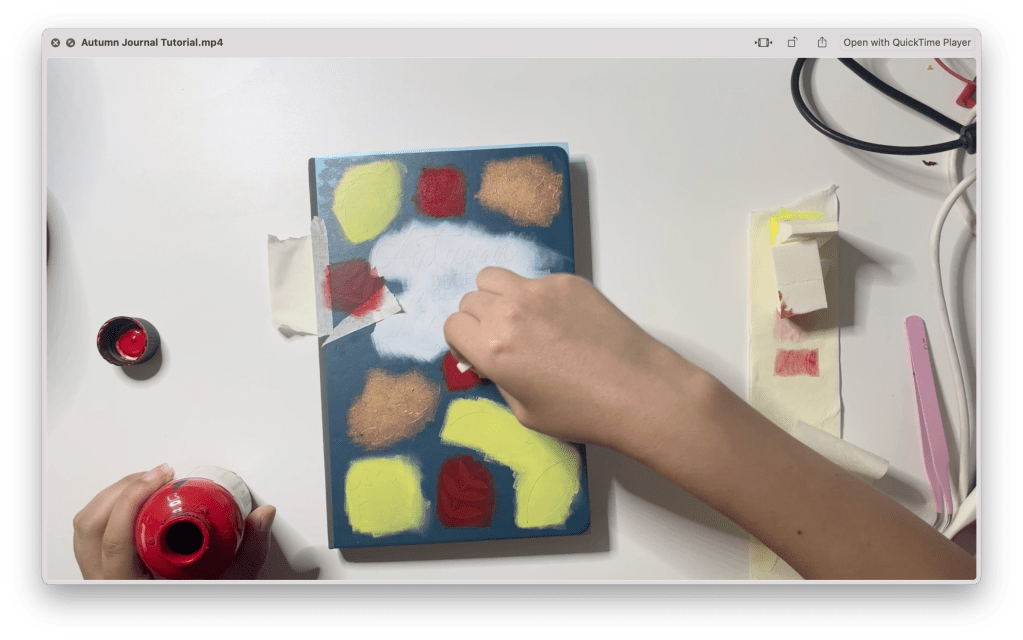
Using a makeup sponge, pick up some of your paint and paint the journal with a stamping motion. With leather paint, it is best to work in thin layers, allowing it to dry in between layers. I started with white followed by pale yellow, then rose gold, then finally fire red. You can use the same sponge for multiple colors by cutting off the edge.

Once each shape is completely painted, remove your stencil. If you have any sections where the paint bled through the stencil, clean it up using rubbing alcohol and a small paintbrush, carefully removing the excess paint.
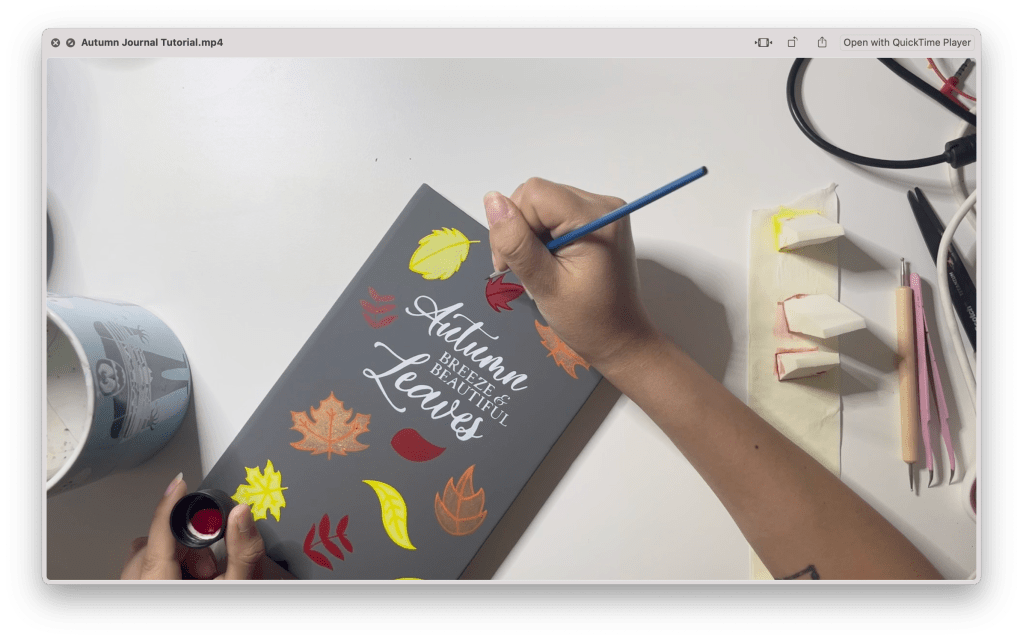
With a fine point paint brush, paint the details of the leaves. I will be painting the same details shown on the png files from the listing using yellow for the pale yellow leaves, tangerine for the rose gold leaves, and burgundy for the red. Using a dotting tool, stamp three dots of burgundy paint in the various negative spaces. If you don’t own a dotting tool, you can use the rounded end of the bottom of a paintbrush like I am using.
Results: One Cute Journal!!
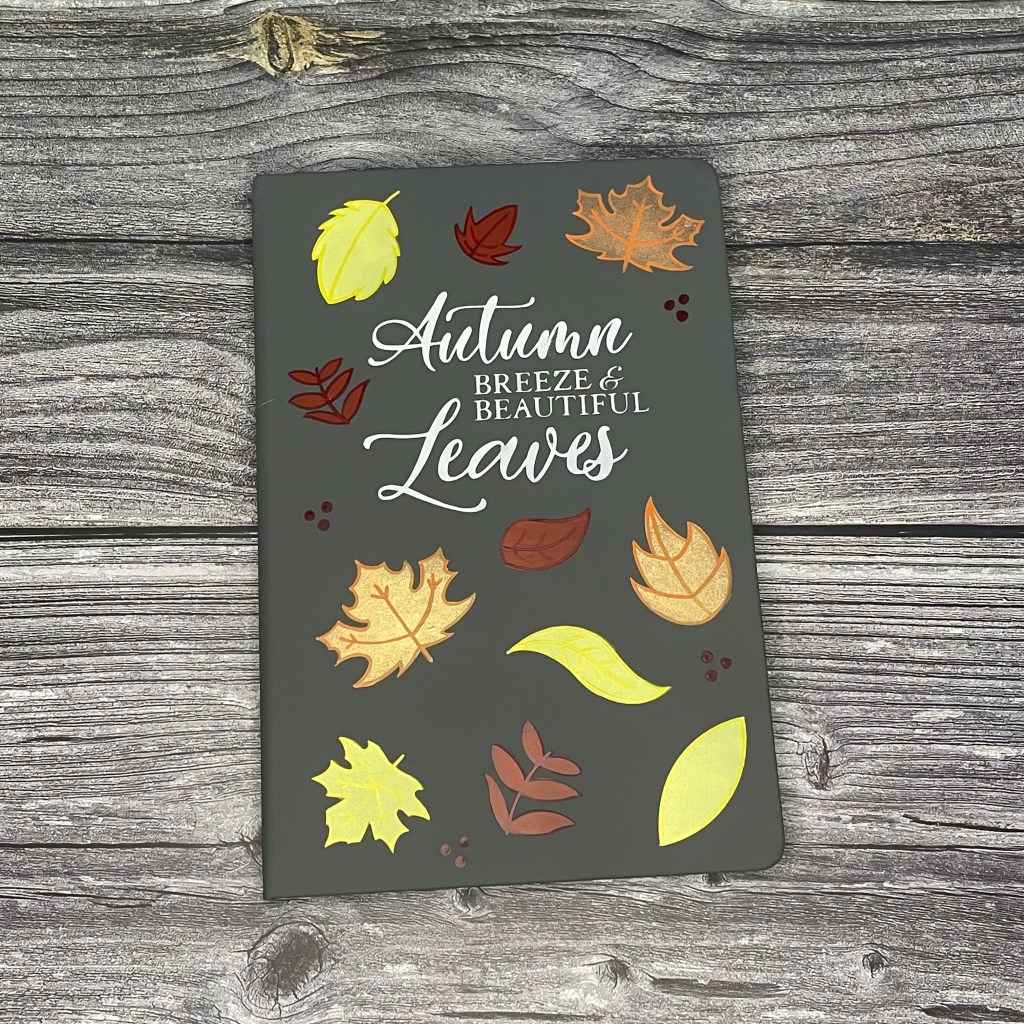
And our project is complete! One A5 journal ready for writing in that nice autumn weather.
If you don’t have a cutting machine to complete this project, we are selling the journal already made on our store stargazerlilyboutique.com. You can find the journal through the menu, or search Autumn Leaves A5 Journal.
SUBSCRIBE FOR UPDATES
