
There are two things I love: Drawing, and pop culture. I have been obsessed with Marvel movies and comic books since I was 12 years old and because of that, I started my own fanart instagram. Well last week I was excited to see that in celebration of the new Doctor Strange movie, marvel was having a fanart contest for the chance to win two tickets to the world premiere! I of course got to work.
My specialty when it comes to digital art is realistic art that I make on procreate. Something about drawing a picture one layer at a time, adding various shades, has always been very soothing for me.
Designing my submission…
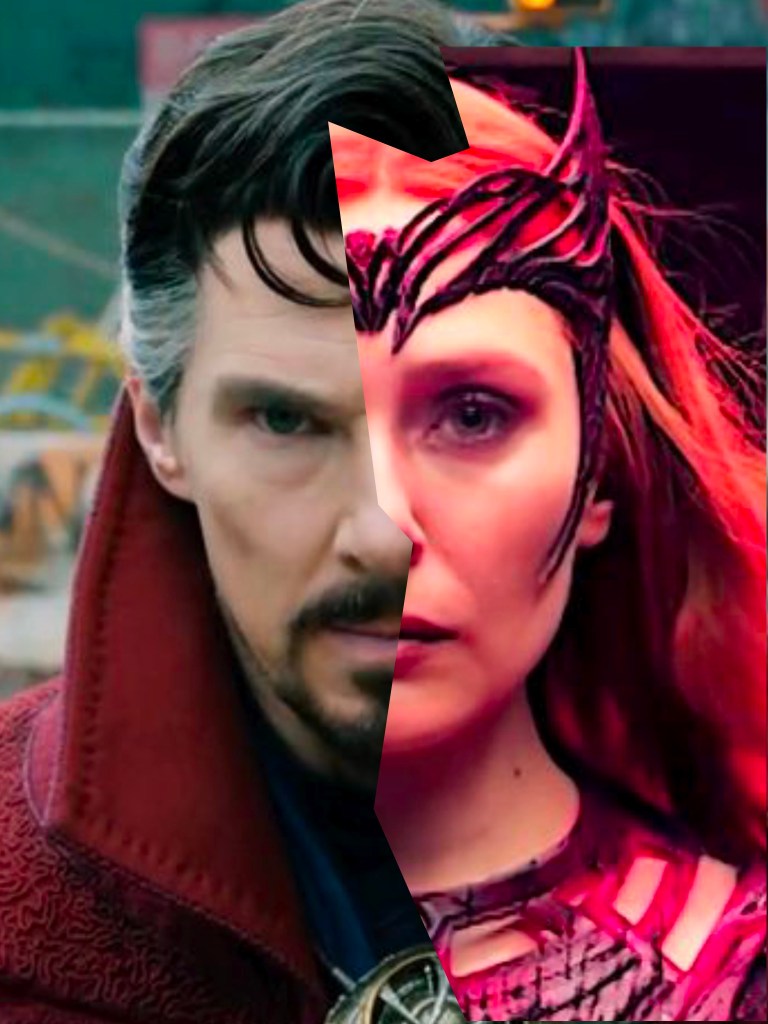
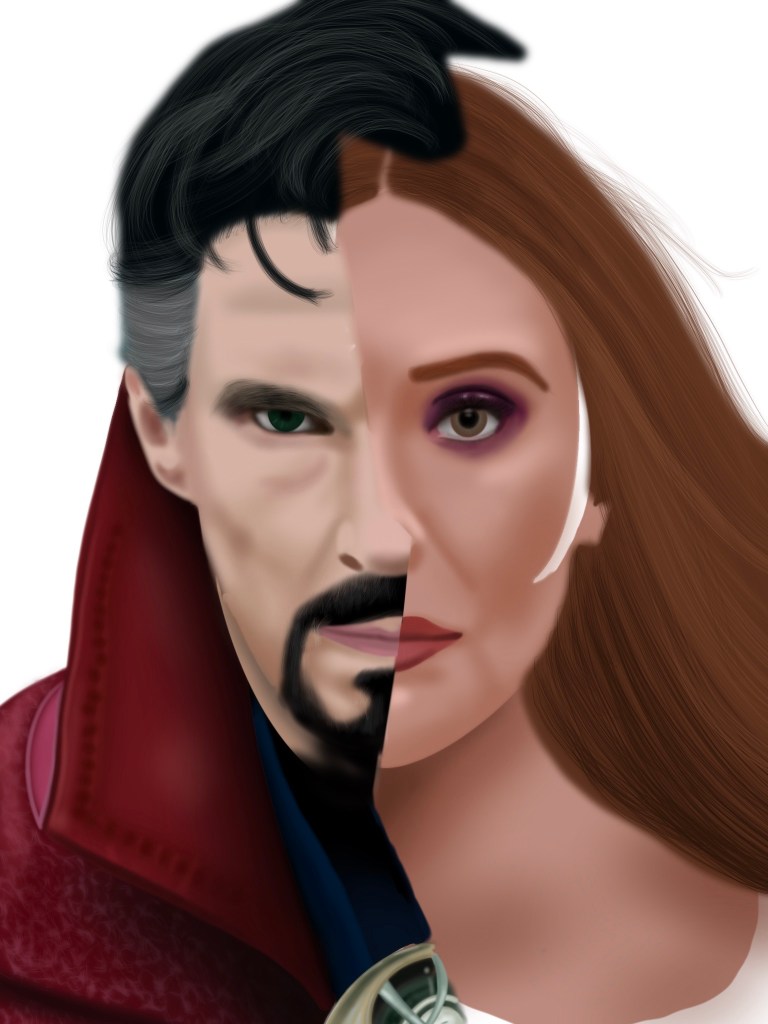
One thing that has been consistent in most of the Doctor Strange posters has been the broken glass theme. The poster I’ve seen most is the one where Doctor strange is surrounded by shards of glass with snippets of the characters within them. When I decided I wanted to have the same affect, I took a picture of Doctor Strange and another of Wanda and separated them in half with jagged lines to get a base for my drawing.
With that decision made, it was time to begin, starting with drawing Doctor Strange.
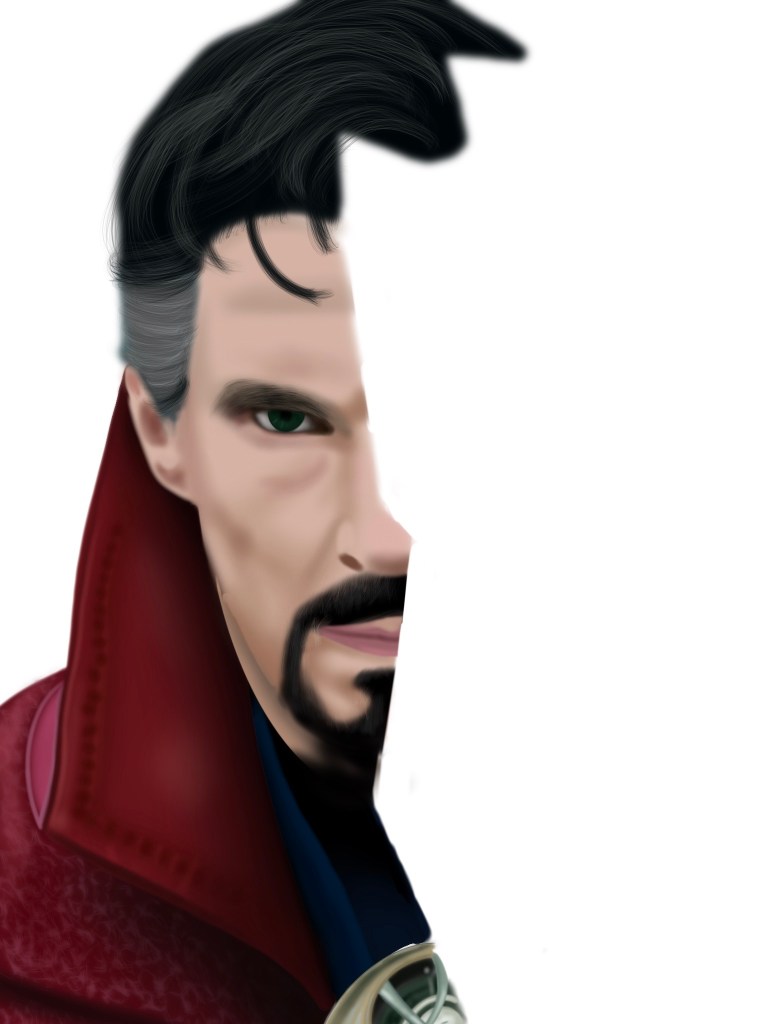
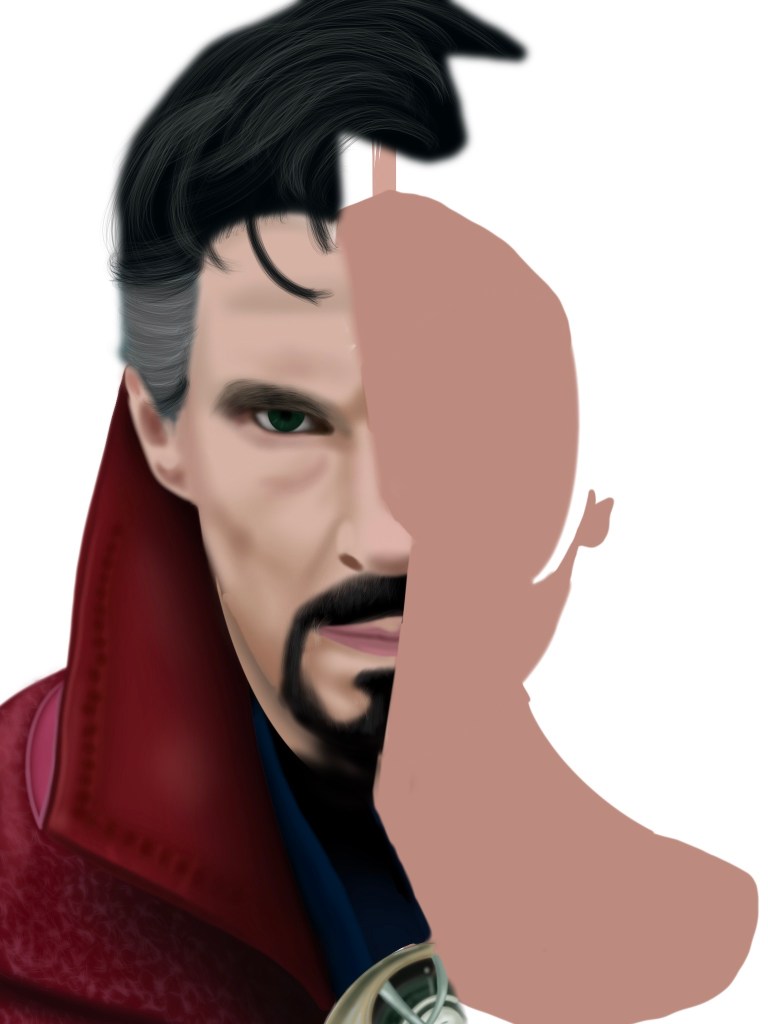
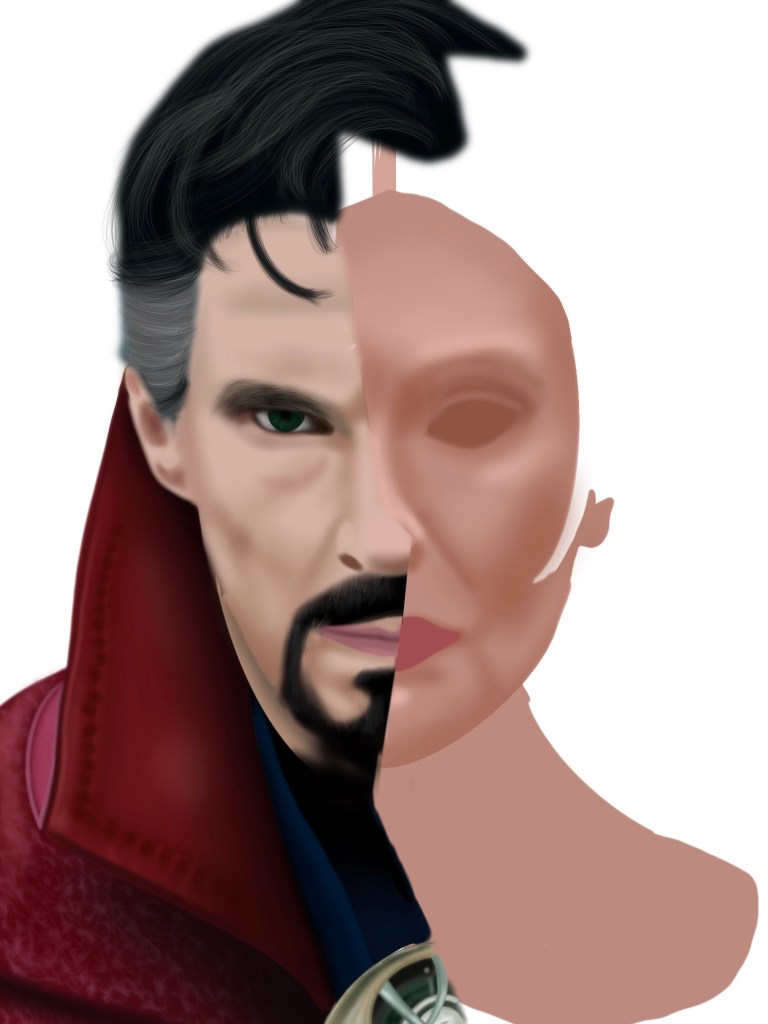
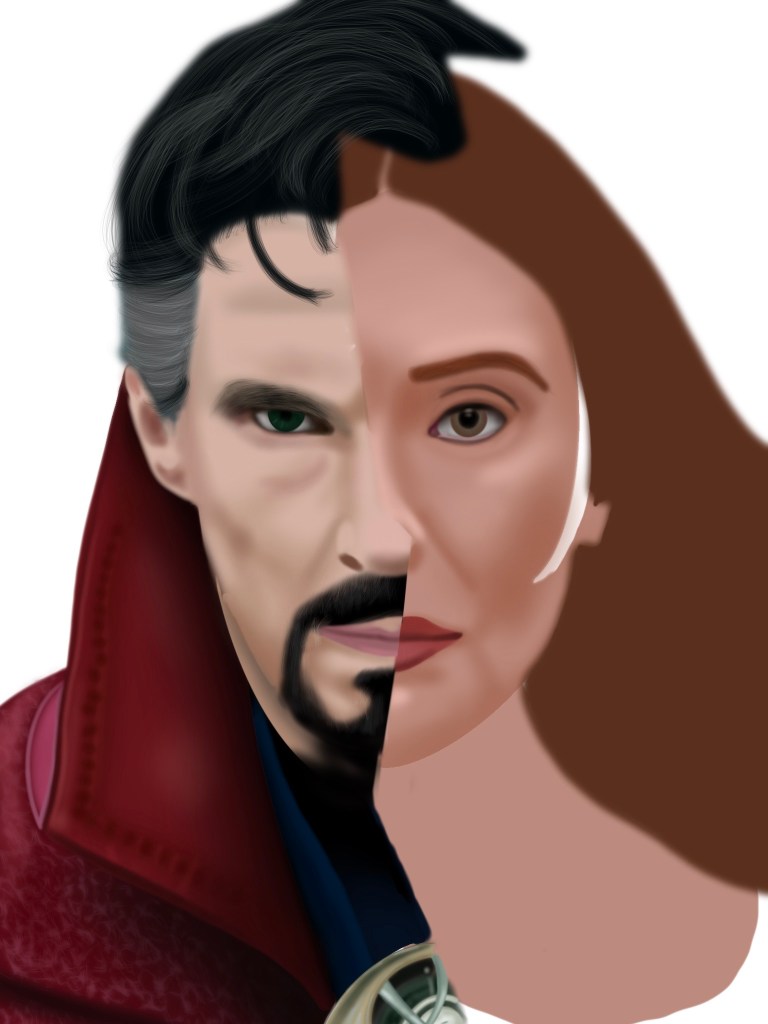
Drawing Doctor Strange and Wanda…
The problem with pictures like this is that the color is not always reliable. Although the photo of doctor strange is perfect, the photo of Wanda shows her in a dark room, lighted by candles and her power, leading to a redish tint. Because of this, when reaching her half, I pulled a well lit photo from wandavision to get more accurate colors.
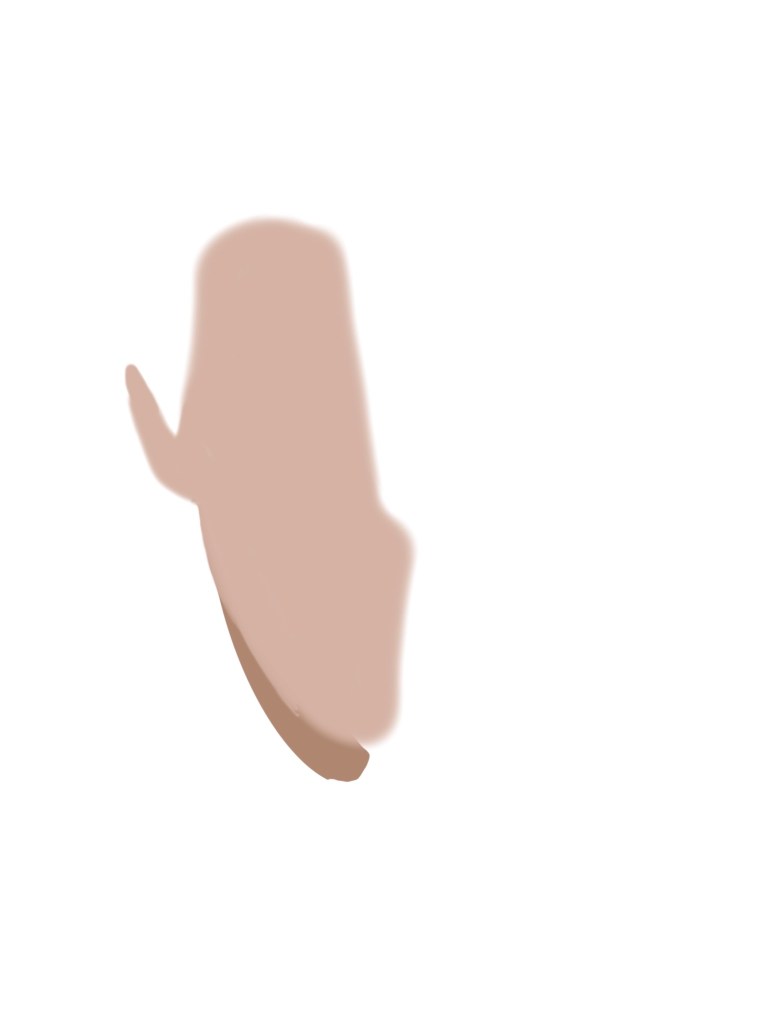
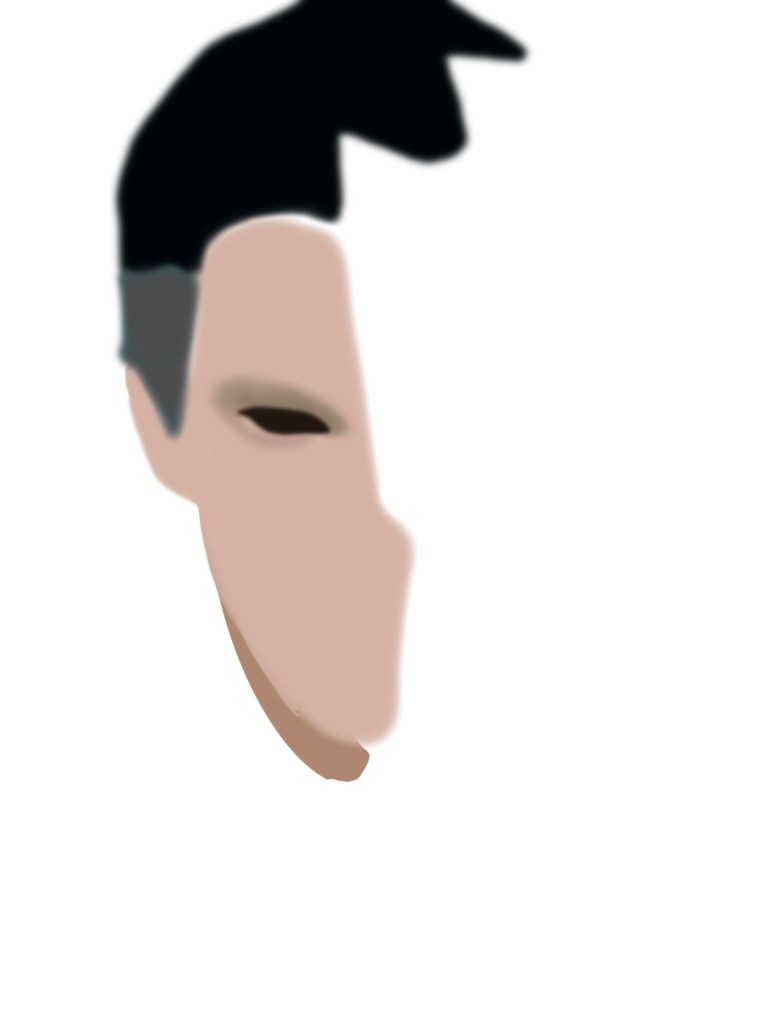
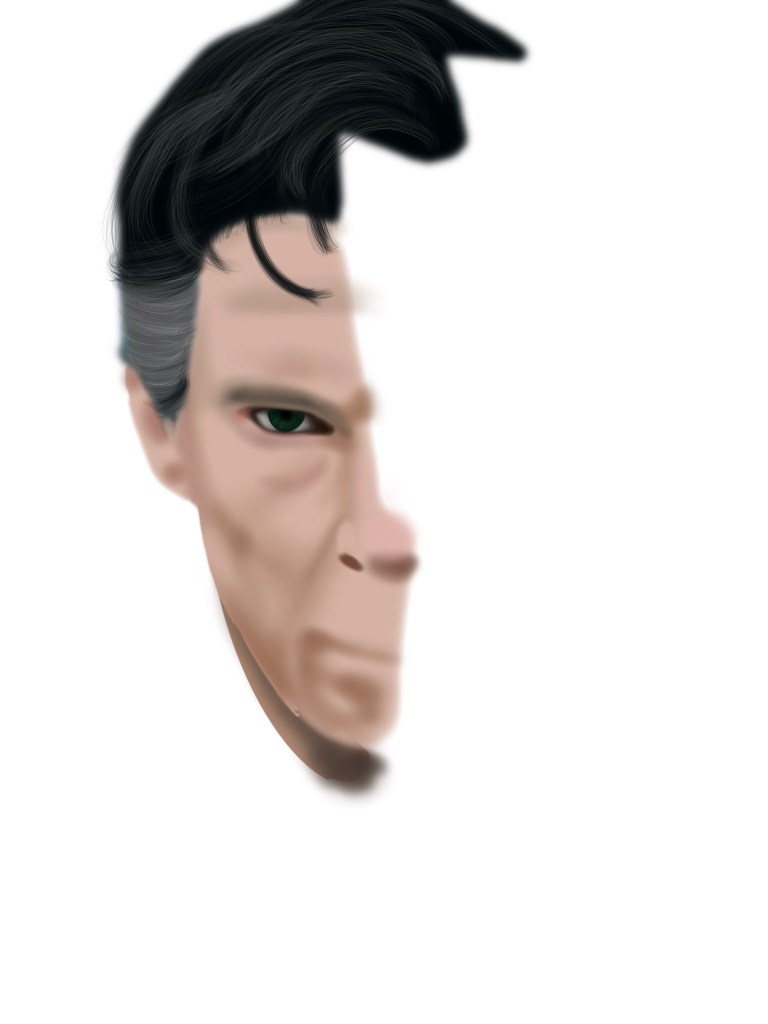
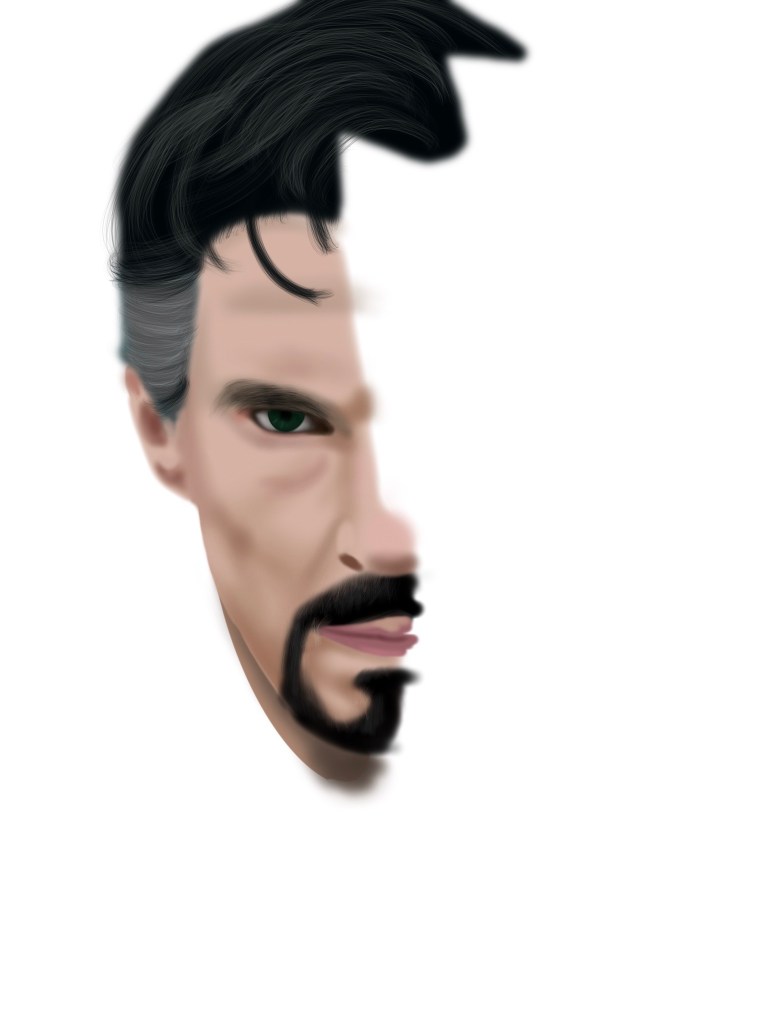
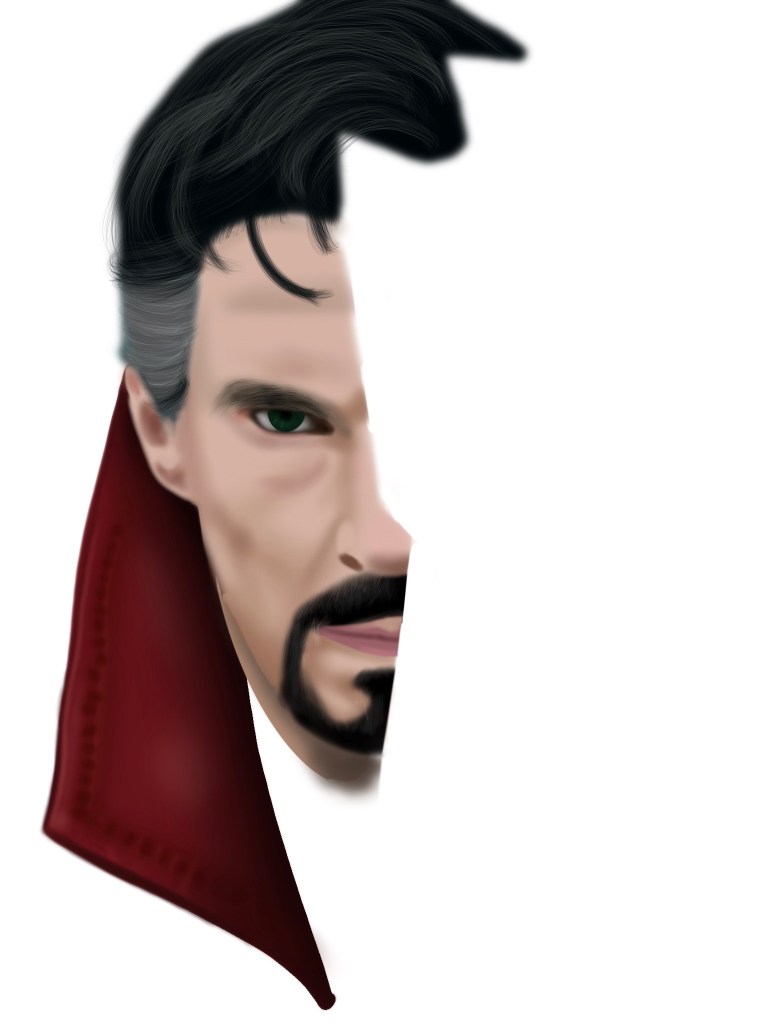
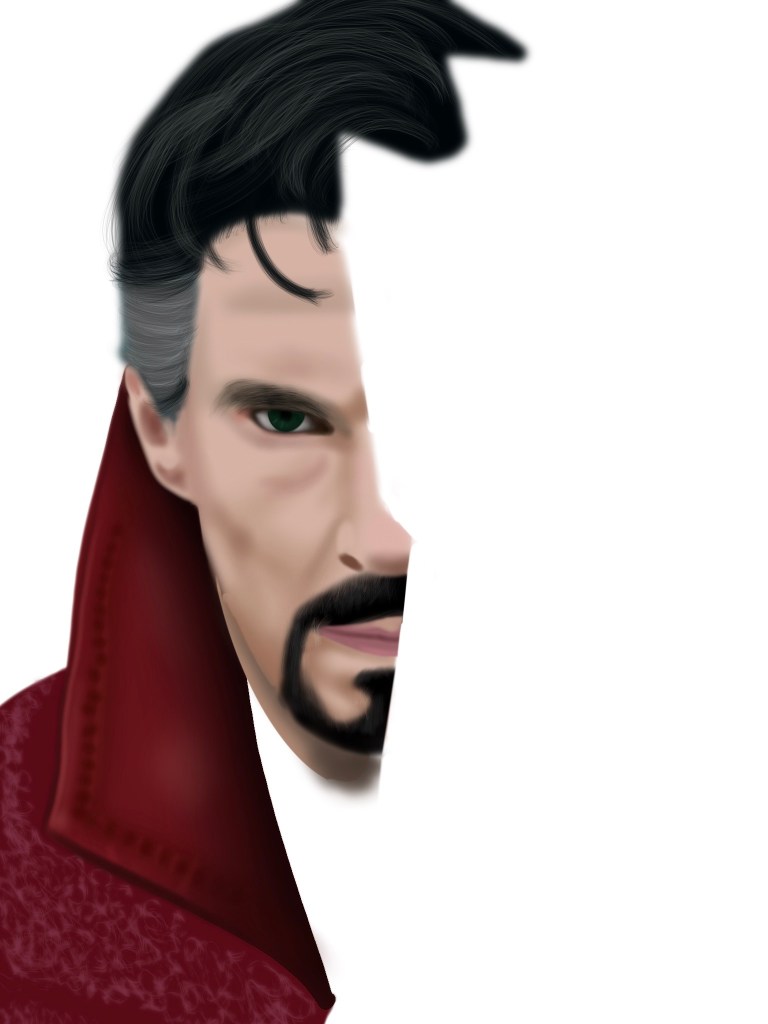
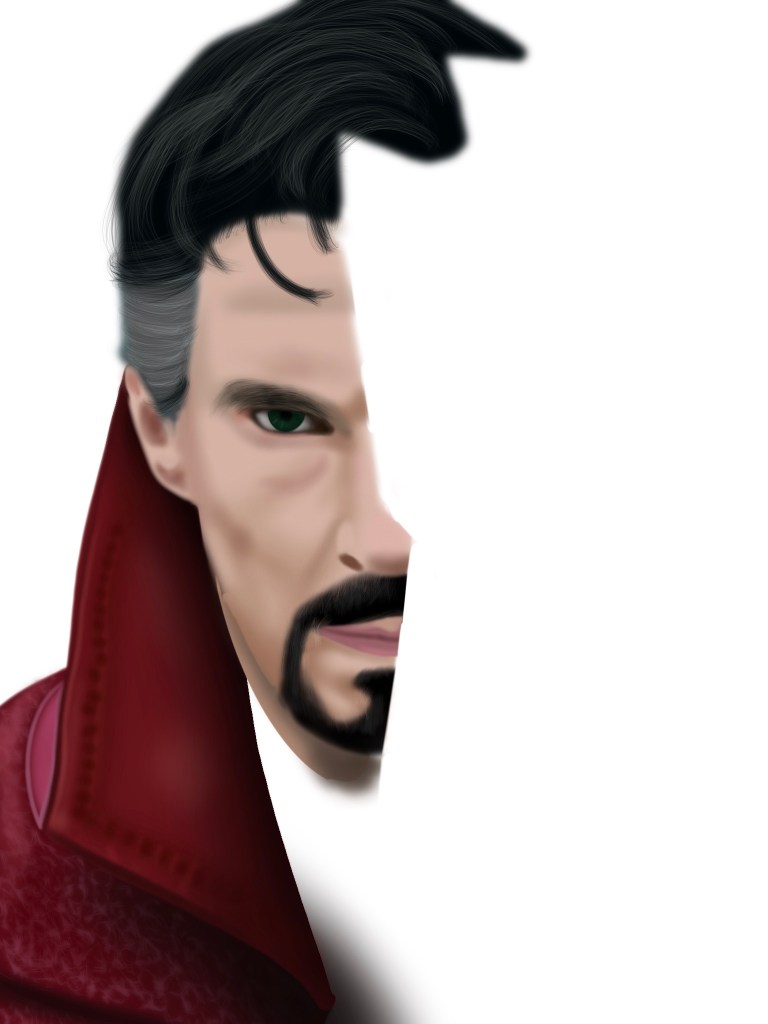
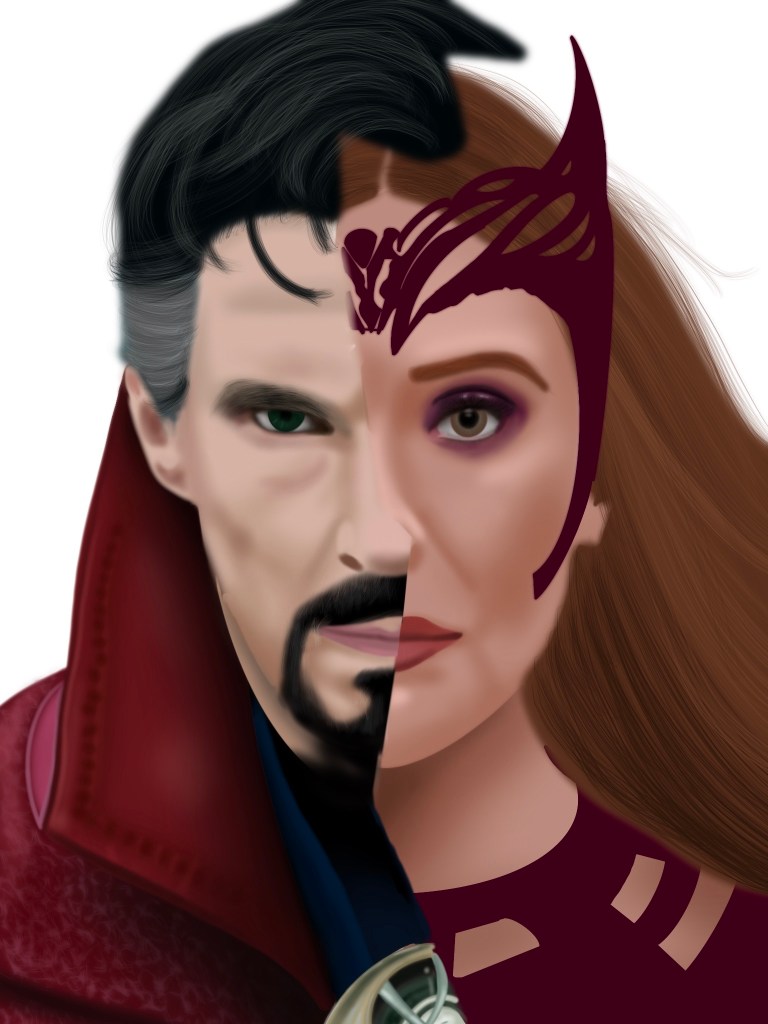
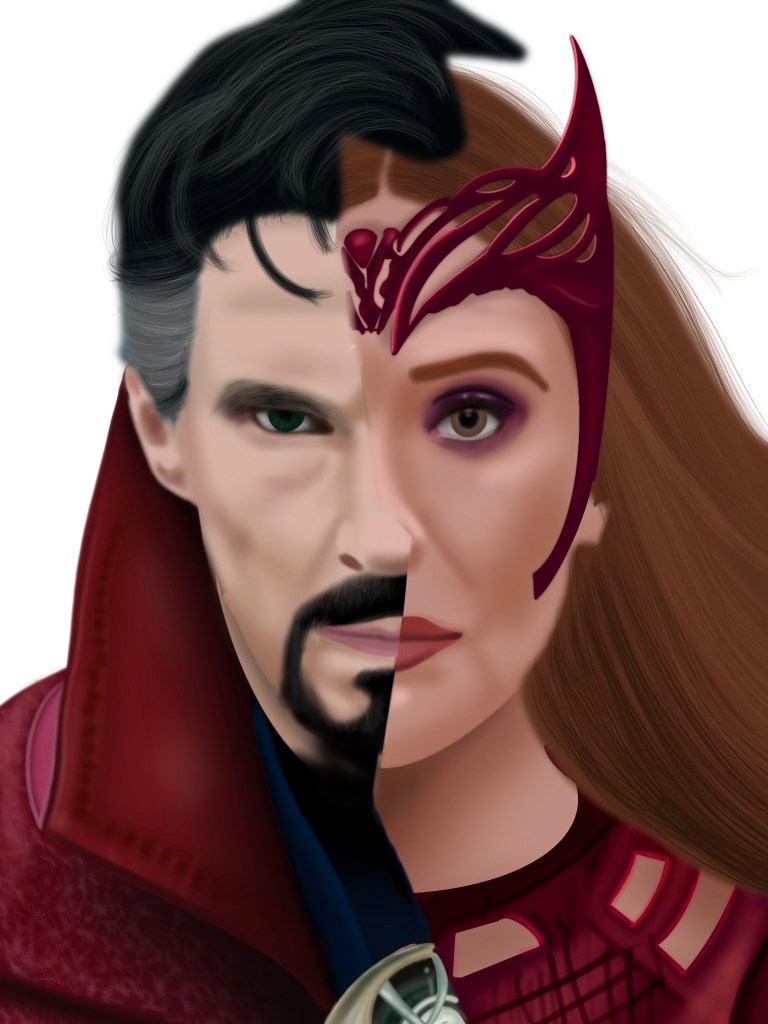
When drawing a character, I always begin by tracing around their heads and hair, filling them in with the solid color. After that, I work in layers, beginning with the lightest color and closing in, using the airbrush on procreate to shade their faces, then eliminating the negative space by selecting it on the solid layer then erasing on the shaded layers. The final step is adding the finer details such as the hair which I use the “fine hair” brush on procreate in various colors to achieve. I don’t have a video of this drawing, but I do have a youtube with some older work. Below are the panels of the layers.


Finalizing the drawing…
With my characters finished, it was time for the final touches! To match the characters, I decided on a dark red backdrop. As for the glass effect, I began with the airbrush in a small size and drew my lines. The next step was adding highlights using a white airbrush which I softly used along the “glass pieces”. Then I shrunk the airbrush to outline some of the black lines for a cleaner edge. The final result was this!:
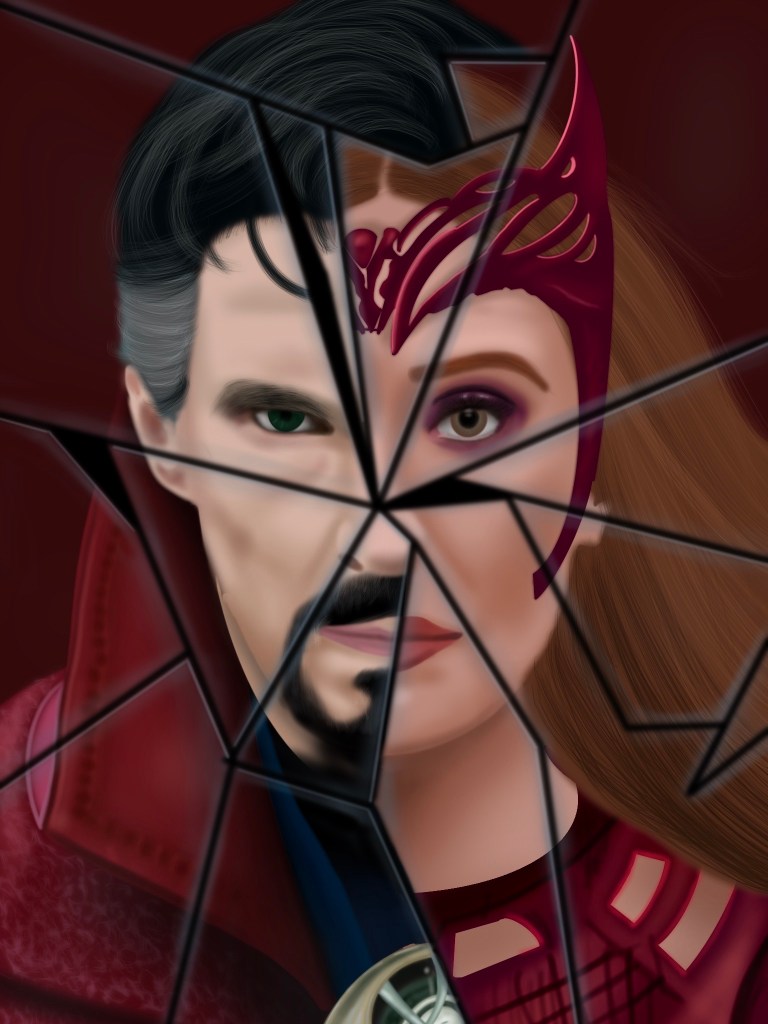
Each time I draw the characters, I am excited to see the improvements that come from just practicing! The more I draw, the more I find myself adding more detail, leading to a more realistic image each time while still keeping the airbrushed look I love having in my drawings! Of course I do hope I win, but regardless, the experience creating this image was as rewarding as usual.
